

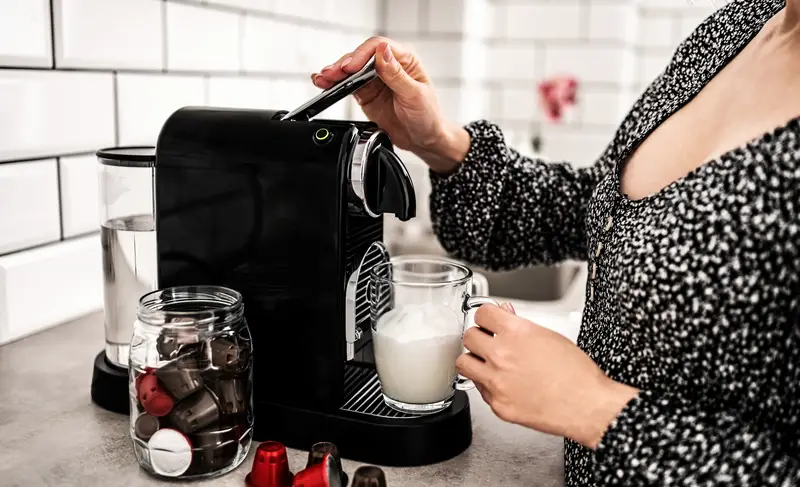
Most of us run our coffee routine on autopilot. You fill the tank, hit the button, pour the cup, and never think twice about the water left sitting inside between brews. That leftover water is not just waiting around politely. It is slowly turning your next cup into something flatter, funkier, and worse than the beans you paid for deserve. It is also going after the machine itself.
I used to be the guy who filled the reservoir the night before, felt smug about being organized, and then let it sit if I skipped a day. Turns out that little habit is one of the easiest ways to sabotage your own coffee. Here is what actually happens to that standing water, and why the smartest move is to dump it out.
The clock starts ticking at 24 hours
You do not need to leave water in there for a week to notice a difference. Water that sits for a single day already changes. Oxygen levels drop over time, and that alone makes coffee taste flat, dull, and a little bitter. Fresh water carries dissolved oxygen that helps pull flavor out of the grounds. Stale water just sits there like a wet blanket.
After about 24 hours in the reservoir, most people can tell the water tastes off if they sip it straight. Coffee snobs spend hundreds on grinders, fancy beans, and gadgets while ignoring the one ingredient that makes up almost the entire cup. Water freshness matters more than the label on your bag, and swapping it out costs you nothing.
Three days in, things start to get weird
Give that water two or three days and the problem stops being about flat flavor. Dust, airborne stuff floating around your kitchen, and mold spores settle right into the open tank. By day three, a thin, slimy layer called biofilm can start forming on the inside walls of the container. If you have ever run your finger along the bottom of a reservoir and felt something slick, that is it.
Clear plastic tanks are the worst for this because light speeds everything up. Warm kitchens make it faster still. The stuff growing inside does not just look gross. It seeps into every cup you brew, dragging musty, off notes into coffee that should taste clean. Once biofilm gets a foothold, a quick rinse will not touch it.
Your reservoir might be grimier than your toilet seat
This is the fact that made me change my ways for good. An NSF International study swabbed household coffee makers and found that half of the reservoirs tested contained yeast or mold. On average, the coffee maker tanks carried more germs than the sample took off toilet seats and bathroom door handles. Let that sit for a second while you look at the machine on your counter.
A TV station in Pittsburgh ran its own swab test on 28 machines across a few cities. More than half of them turned up gunk in the water tank, the pod compartment, the spout, and the drip tray. We are talking millions of colonies of the kind of stuff you really do not want floating in your morning drink. The takeaway is not to panic. It is that a warm, dark, wet box is a fantastic place for grime to move in, and standing water is the invitation.
Pod machines are the sneakiest offenders
Think you are off the hook because you empty the visible tank on your Keurig? Not so fast. Single-serve brewers are built with small internal pumps that stay primed, which means there is water hiding inside the machine even when the reservoir looks empty. That trapped water in the tubing gets zero airflow, so it just sits and stews in a spot you cannot see or reach.
Keurig itself says that if a machine goes several days without use, you should run a few cleansing brews with plain water to flush out the standing water inside. A basic single-serve Keurig runs around $80, and the Premier system creeps toward $300. That is a real chunk of money to let quietly turn into a science experiment because you skipped coffee over a long weekend.
Standing water is quietly killing your machine
Grime is only half the story. Tap water is loaded with calcium and magnesium, and when it sits in the reservoir it concentrates those minerals. Every time water heats up and evaporates, it leaves behind a crusty deposit called limescale. That chalky white buildup coats the pipes, valves, and heating element inside your brewer.
Once scale insulates the heating element, your machine cannot get water hot enough to brew properly. Coffee tastes best when the water hits around 195 to 205 degrees, and scale drags that number down. You will notice slower brew times, weird noises during the cycle, and coffee that tastes chalky or dull. Left alone long enough, that mineral crust can clog the works permanently and cook the pump. Some brands will even void your warranty if you never bothered to descale.
Vacations create the perfect storm
The absolute worst conditions come when nobody touches the machine for days. A weekend trip, a work stretch away from home, or just a busy week where you grab coffee out instead. Warm, humid kitchens with poor airflow speed up mold growth dramatically, and a sealed tank traps every bit of that moisture inside.
Before you head out of town, empty the reservoir completely and leave the removable parts out to dry. Airflow is the secret weapon here. A dry, open tank gives moisture a chance to evaporate between uses, which is exactly what stops mold from setting up shop. Come home to a clean, dry machine instead of a funky one, and your first cup back will not taste like a basement.
The daily fix that costs you nothing
None of this requires buying anything or learning some complicated routine. When you finish brewing, dump out whatever water is left in the tank. That one move solves most of the problem before it starts. As a rule of thumb, tap or filtered water should not sit longer than 24 hours, and even distilled water should get tossed after about two days.
Rinse the reservoir with hot water, and if it is dishwasher safe, the top rack works great. Let it air dry all the way before you refill it. Swapping in fresh water every single day costs you a few cents and a few seconds. Using filtered water instead of straight tap also slows down mineral buildup, so you deal with less scale down the road. It is the cheapest upgrade to your coffee you will ever make.
How to deep clean a machine that is already funky
If your machine has been neglected, a daily rinse alone will not undo the damage. You need to descale it. The classic method is plain white vinegar. Fill the tank with equal parts water and vinegar, run it until the carafe is about half full, let it sit for a bit, then finish the cycle. For a machine that has been ignored for a long time, bump the mix up to two parts vinegar to one part water.
After the vinegar cycle, run two or three cycles of plain water to rinse out every trace, otherwise your coffee will taste like salad dressing. Citric acid based descaling powders do the same job if you would rather skip the smell. For a daily brewer, a deep clean like this every two weeks keeps scale from building into a real problem. Between deep cleans, that daily habit of dumping and drying the tank does the heavy lifting.
The one habit worth keeping
Coffee is mostly water, and the water is the part almost everyone ignores. Leaving it to sit means flatter flavor by the next morning, slick biofilm within a few days, and mineral scale slowly choking a machine you spent good money on. The fix is almost insultingly simple. Empty the tank when you are done, rinse it, let it dry, and refill with fresh water when you are ready to brew.
Do that, throw in a vinegar cycle every couple of weeks, and your coffee maker will last longer and pour a cleaner cup. Not a bad payoff for a habit that takes ten seconds. Go dump that tank sitting on your counter right now.

