

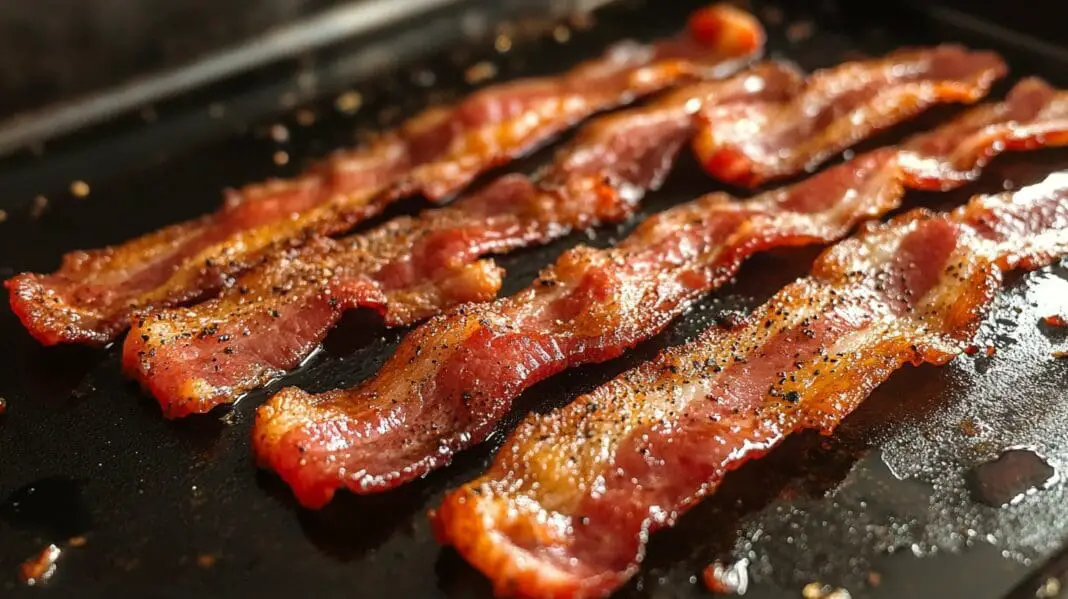
The way most of us learned to fry bacon is backwards. You heat the skillet first, wait for it to get good and hot, then drop the cold strips in and listen for that sizzle. It feels right. It also gives you bacon that curls into sad little ribbons, shrinks to half its size, and cooks unevenly with scorched edges and rubbery centers. Millions of breakfasts get quietly ruined this exact way every single morning.
There is a better way, and it costs you nothing. Start your bacon in a cold pan. That is the whole change. No new gadget, no fancy skill, just flipping the order of two steps you have done on autopilot your entire life. Once you taste the difference, defending the hot-pan habit gets pretty hard.
Why the Hot Pan Ruins Your Bacon
When you lay cold bacon onto a screaming hot surface, the meat seizes up on contact. Food Network chef Geoffrey Zakarian puts it bluntly: hit bacon with a hot pan and it immediately shrinks and curls. The outside browns and hardens before the thick band of fat has any chance to melt. You end up with strips that are burnt in spots, pale in others, and swimming in grease that never rendered the way it should have.
Bacon tastes so good because of the Maillard reaction, the same browning that makes toast and a seared steak so appealing. That reaction needs steady, even heat and a little patience. Blast it with high heat and you skip right past the good browning and go straight to bitter and burnt. Slower is genuinely better here, even though it goes against every instinct that says hotter equals crispier.
Start Cold, Go Low and Slow
The cold method works like this. Lay your raw strips into a cold, dry skillet in a single layer, then turn the burner to medium-low and let the whole thing warm up together. As the pan slowly heats, the fat melts out evenly and bastes the meat as it cooks. Chef Albert Nguyen of the Institute of Culinary Education explains that a cold start gives the fat time to render, so every part of the strip touching the pan gets the same heat.
Low and slow is the phrase to burn into your brain. You are not in a race. Bacon that renders gently comes out flat, evenly crisp, and much closer to its original size. It also spatters far less, which means your stovetop and your forearms both come out ahead. You will stand there wondering why you spent years fighting a hot pan.
Grab the Right Pan and the Right Cut
Reach for cast iron if you have it. A heavy, well-seasoned cast-iron skillet heats evenly with no hot spots, so you do not get one strip charred while its neighbor is still floppy. Thin aluminum pans get ripping hot fast and burn bacon in patches. As a bonus, the rendered fat helps season the pan for next time, so the skillet actually pays you back.
The cut matters just as much. Most people grab standard thin streaky bacon and then wonder why it burns in ninety seconds. Thick-cut gives you room for error and a meatier bite. It stays fat and juicy instead of shriveling into a brittle wisp. Look for packages labeled thick-cut or thick-sliced at the store, like Wright brand or the thick-sliced version from Oscar Mayer, and you will taste the upgrade.
Let It Warm Up and Trim the Bulky Fat
Pull the bacon out of the fridge about fifteen minutes before you cook. Cold fat holds its temperature longer than the meat does, so ice-cold strips cook unevenly. A short rest on the counter takes the chill off and gives you a warmer, more even starting point. It is a tiny step that quietly pays off in the pan.
If your thick-cut strips have big knobs of fat along one edge, snip them down with kitchen scissors before they hit the pan. Those chunky bits are a big reason bacon curls and buckles as it shrinks. Trim them and the strips lie flatter and cook more evenly. Do not toss what you cut off, either. You can render it separately for extra cooking fat later.
Do Not Cram the Whole Pack In
The temptation to cook a whole pound at once is real, especially on a hectic morning. Resist it. When strips overlap or crowd each other, they trap steam and turn soft and pale instead of crisp. Crowded bacon browns dramatically less, by a wide margin according to thermal imaging studies. Cook in batches with a little space between each strip, or reach for your biggest skillet so everything can lie flat.
Flip Once, Not Ten Times
Fussing with the strips is a habit worth breaking. Every time you flip, you interrupt the browning and reset the clock. For skillet bacon, flip one time, right around the halfway point, once the down side has turned golden. Thin strips run about eight to ten minutes total on medium-low, and thick-cut needs a couple minutes more. Watch the color, not just the timer.
And skip the urge to rinse raw bacon under the faucet first. It does nothing useful, splashes raw pork water all around your sink, and only makes a mess. Cured pork does not need a bath before it cooks, so leave the water off and get straight to the pan.
Drain the Strips, Save the Grease
The second your bacon hits the crispness you want, lift it out of the pan with tongs onto a paper-towel-lined plate. Bacon left sitting in its own grease turns limp and greasy again, undoing all your patient work. Get it out fast and let the towels wick away the extra fat. Blot the tops with another towel if you want them extra crunchy.
Do not pour that liquid gold down the drain. Strain the rendered fat into a clean mason jar and keep it in the fridge. It is a shelf-stable cooking fat that fries eggs, potatoes, and cornbread better than anything you can pour out of a bottle. Tossing it means throwing away flavor you already paid for at the register.
Easy Ways to Dress It Up
Plain crisp bacon is hard to beat, but the cold-pan method takes to flavor add-ons beautifully. A few cranks of fresh black pepper right before the flip gives you peppered bacon without the markup. For a sweet and savory batch, brush the strips with pure maple syrup and a sprinkle of brown sugar in the last few minutes, letting it turn sticky and glazed. A pinch of cayenne or smoked paprika pushes it toward candied-bacon territory.
Whatever you add, keep the heat gentle. Sugar scorches fast, so watch the pan closely once it goes on and pull the strips the moment the glaze sets. If you are cooking a big batch, you can also spread the strips on a rack over a sheet pan in a 400-degree oven for fifteen to twenty minutes, but the skillet still wins for a small weekday breakfast.
Switching to the cold-pan method is the rare kitchen change that costs nothing and works the very first time. You use the skillet you already own and the bacon already in your fridge. The only thing you give up is the old habit of preheating, and once you see flat, evenly crisp strips come out the other side, you will not miss it. If you are cooking for a full table, the oven has the edge on convenience, but for a normal morning, a cold pan is all you need.
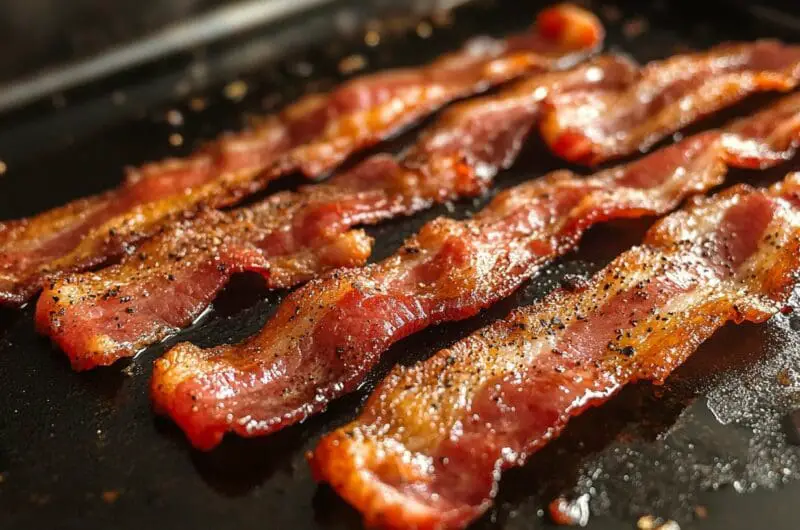
Cold-Pan Skillet Bacon (The Right Way to Fry It)
Course: BreakfastCuisine: American4
servings15
minutes15
minutes120
kcalThe cold-start trick that gives you flat, evenly crisp bacon every single time.
Ingredients
1 pound thick-cut bacon (about 12 strips)
Freshly ground black pepper, to taste
2 tablespoons pure maple syrup (optional, for a sweet batch)
2 tablespoons packed light brown sugar (optional)
1/4 teaspoon cayenne pepper (optional)
1/2 teaspoon smoked paprika (optional)
1 heavy cast-iron or stainless steel skillet
Paper towels, for draining
1 clean mason jar, for saving the drippings
Directions
- Take the bacon out of the fridge about 15 minutes before cooking and let it sit on the counter. Cold fat holds its chill longer than the meat, so a short rest helps the strips cook more evenly. If any strips have big knobs of fat on the edge, trim them with kitchen scissors so they lie flat.
- Lay the raw strips in a single layer across a cold, dry skillet. Do not preheat the pan first. Leave a little space between each strip so they are not overlapping or touching.
- Set the burner to medium-low and let the pan warm up slowly with the bacon already in it. As the pan heats, the fat will start to render and pool around the strips. This gentle start is what keeps the bacon flat instead of curling.
- Cook without touching the bacon for the first several minutes. Let the down side turn golden and the fat go from white to clear. Rushing this stage is the fastest way to burnt edges and rubbery centers.
- When the bottom is nicely browned, flip each strip one time with tongs. Thin strips need about 8 to 10 minutes total, and thick-cut needs a couple minutes more. Watch the color of the bacon instead of staring at the clock.
- For a peppered batch, grind fresh black pepper over the strips just before the flip. For sweet and savory bacon, brush the tops with maple syrup and sprinkle on brown sugar, plus cayenne or paprika if you like, during the last 2 to 3 minutes. Keep a close eye on it, because sugar scorches fast.
- Once the strips reach the crispness you want, lift them out with tongs onto a paper-towel-lined plate right away. Sitting in the hot grease turns bacon limp and greasy again. Blot the tops with another paper towel if you want them extra crisp.
- Let the rendered fat cool for a few minutes, then strain it into a clean mason jar and store it in the fridge. Use it later to fry eggs, potatoes, or cornbread. Wipe the skillet while it is still warm and put it away.
Notes
- Cast iron is ideal because it heats evenly with no hot spots, but a heavy stainless pan works too. Avoid thin aluminum, which burns bacon in patches.
- Thick-cut bacon gives you more room for error and a meatier bite than standard thin slices. Look for packages labeled thick-cut or thick-sliced.
- Cooking for a crowd? Move to a 400-degree oven with the strips on a rack over a sheet pan for 15 to 20 minutes, with no flipping needed.
Frequently Asked Questions
Q: Do I really need to start with a cold pan?
A: Yes. A cold start lets the fat render slowly so the strips stay flat and cook evenly, instead of seizing and curling the second they hit a hot surface. It is the single biggest change you can make.
Q: How do I keep bacon from curling?
A: Start cold, cook low and slow, and trim any bulky fat off the edges before it hits the pan. Flipping only once instead of constantly also helps the strips stay flat.
Q: What is the best pan for frying bacon?
A: A heavy, well-seasoned cast-iron skillet. It spreads heat evenly with no hot spots, and the rendered fat helps keep the pan seasoned for next time. A heavy stainless pan is a fine backup.
Q: Can I save and reuse bacon grease?
A: Absolutely. Strain the cooled fat into a clean mason jar, keep it in the fridge, and use it to cook eggs, potatoes, cornbread, and plenty more. It adds real flavor you already paid for.

