

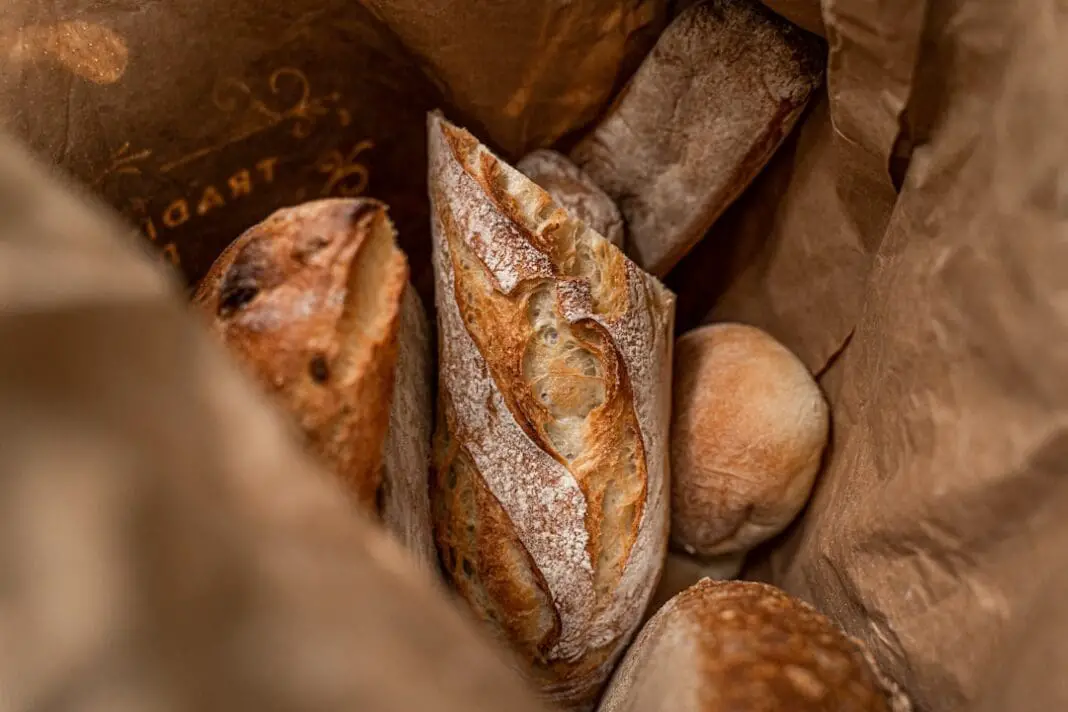
You bought a gorgeous loaf of sourdough on Saturday. By Monday it feels like a brick you could use to prop open a door. Sound familiar? Before you toss it in the trash and feel guilty about the money you just wasted, stop. There is a stupidly simple fix that takes about ten minutes and costs you nothing but a splash of tap water.
I used to think stale bread was a one-way street. Once it went hard, it was done, off to the crouton pile or the garbage. Turns out professional bakers have been quietly bringing bread back from the dead for ages, and the method is so easy it almost feels like cheating. Here is exactly how to do it, why it works, and the couple of ways people mess it up.
The Trick Is Water And An Oven. That’s It.
Here is the whole thing. Heat your oven to somewhere between 300 and 325 degrees. Run the whole loaf quickly under the faucet so the outside crust gets wet all over. Not soaked, just wet. Then pop it straight onto a baking sheet or the rack and let it heat for about 6 to 15 minutes, depending on the size. A skinny baguette needs less time. A big round boule needs more.
When it comes out, the crust is crackly and crisp again and the inside is soft and warm, like it just left the bakery. A French baker trick uses a pastry brush to paint water all over the loaf instead of the faucet, which gives you more control on delicate breads. Either way works. The water on the outside plus the heat is the magic combo.
One choice you have to make is foil or no foil. Some folks wrap the wet loaf tightly in aluminum foil before it goes in, which traps steam and makes the inside extra soft. Others skip the foil so the crust crisps up faster. If you want a shatter-crisp crust like a baguette should have, go without foil. If you care more about a pillowy inside, wrap it up tight with no gaps.
Why Low Heat Beats Cranking It High
Your instinct might be to blast the oven at 450 to save time. Don’t. A moderate temperature lets the loaf rehydrate slowly instead of drying out even more. Food Network’s kitchen staff actually voted on the best way to do this, and they landed on 300 degrees for exactly that reason. High heat just torches the outside while the middle stays dense and sad.
If your loaf is already cut in half, turn the cut side down when you wet it. That keeps you from flooding the interior. A little water sneaking in is fine, but you don’t want a soggy middle.
The Science Is Actually Kind Of Cool
Here is the part that surprised me. Stale bread is not really about the bread “drying out” the way most people assume. The real culprit has a fancy name: starch retrogradation. When bread bakes, the starch molecules swell up with water and go soft. That is what gives you that tender crumb. Once the loaf cools, those same starch molecules start to reform and harden, squeezing the water back out. That rigid, crystallized structure is what makes day-old bread feel like a rock.
Wild fact: bread starts going stale almost the minute it leaves the oven. It is happening the whole time it sits on your counter, you just don’t notice until day two or three.
So why does the water-and-heat trick fix it? Because you are literally undoing that chemistry for a little while. A pastry chef instructor explained that water is the antidote for bread that has hardened. You add moisture back to the outside, then the heat turns that water into steam and pushes it into the crumb. The crystallized starch soaks the water back up, loosens, and goes soft again. The dry oven heat re-crisps the crust at the same time. Soft inside, crunchy outside, exactly like new.
The Surprise Upset: Microwave Plus Toaster Oven
If you don’t want to fire up the full oven, there is a faster method that beat everything else in a head-to-head test. One writer tried six different ways to revive stale baguettes, and she admitted she walked in with a deep grudge against microwaving bread. The winner shocked her.
Wrap the bread in a damp paper towel, microwave it for just 10 seconds, then finish it in a toaster oven on the first toast setting. The result was a cracklingly crunchy, shiny crust with a light, fluffy inside, and it was done faster than any oven method. The microwave gets the inside soft quickly, and the toaster oven brings back the crust. Two-step combo, minimal effort.
Got Loose Slices? Use A Skillet.
The oven trick is built for whole loaves. If you throw individual slices in there, they will just dry out worse. For single slices or rolls, the stovetop is your friend.
Heat a skillet, put your slice in, and cover it with a lid. The direct heat re-softens the starch, and the cover traps the bread’s own escaping moisture, creating a little steam pocket. That skillet method revives the crumb without making the outside soggy. It is fast and it only dirties one pan.
The Microwave-Only Warning Nobody Tells You
You can absolutely microwave a slice on its own. Dampen a paper towel, wring it out so it is not dripping, wrap the bread, and zap it in 10-second bursts until soft, usually 10 to 20 seconds total. But there is a catch that trips people up.
Microwave-only bread turns to rubber the second it cools. The steam makes it super soft for a minute, then it goes tougher and chewier than it started. So this is a last-second trick only. Do it right before you are going to eat, and eat it immediately. Do not revive a slice, walk away for 20 minutes, and expect it to still be good.
Honestly, that rule applies to every method here. The softness is temporary. You are borrowing freshness, not buying it back forever. Revive only what you plan to eat right now.
When Bread Is Too Far Gone
Two situations mean the trick won’t save you. First, if you see any mold, the loaf is done. Throw the whole thing out. No amount of water and heat fixes that. Second, if the bread is already pre-sliced sandwich bread, the revival method is not really worth it. Those thin slices dry out instead of bouncing back.
But hard, dry bread that is otherwise fine is a goldmine. Turn it into croutons, whiz it into breadcrumbs, or make bread pudding. An Italian panzanella salad basically exists because someone had stale bread and refused to waste it. Rock-hard loaf, meet your second life.
The Storage Mistake That Speeds Up Staling
Want to skip the whole revival dance? Store your bread right in the first place. And here is the big one people get backwards: do not put bread in the fridge. It feels logical, but cold temperatures just above freezing are the worst possible spot. The fridge speeds up that starch recrystallization, so your loaf goes stale faster in there, not slower.
Room temperature in a sealed bag is your everyday move. For anything longer than a few days, freeze it. Freezing basically freezes the staling process too, plus it stops mold. Slice the loaf first so you can pull out exactly what you need and thaw or toast just those pieces.
There is also a reason your fancy bakery sourdough goes hard so much faster than the squishy sandwich loaf that lasts a week and a half. Store-bought bread is packed with enzymes, emulsifiers, and gums that grab onto the starch and slow staling down. Artisan and homemade loaves skip all that, which is exactly why they taste better and also why they don’t last. Fresh has a cost.
The Takeaway
Next time a loaf goes hard on you, don’t throw money in the trash. Wet the crust, heat it at 300 to 325 for about ten minutes, and enjoy it right away. Or hit a slice with the microwave-plus-toaster combo if you are in a rush. It is one of those kitchen tricks that seems too simple to be real until you try it once and never look at stale bread the same way again.
The only real rule is timing. Revive it right before you eat it, because the clock starts ticking the moment it comes back out. Fresh-again bread waits for no one.

