

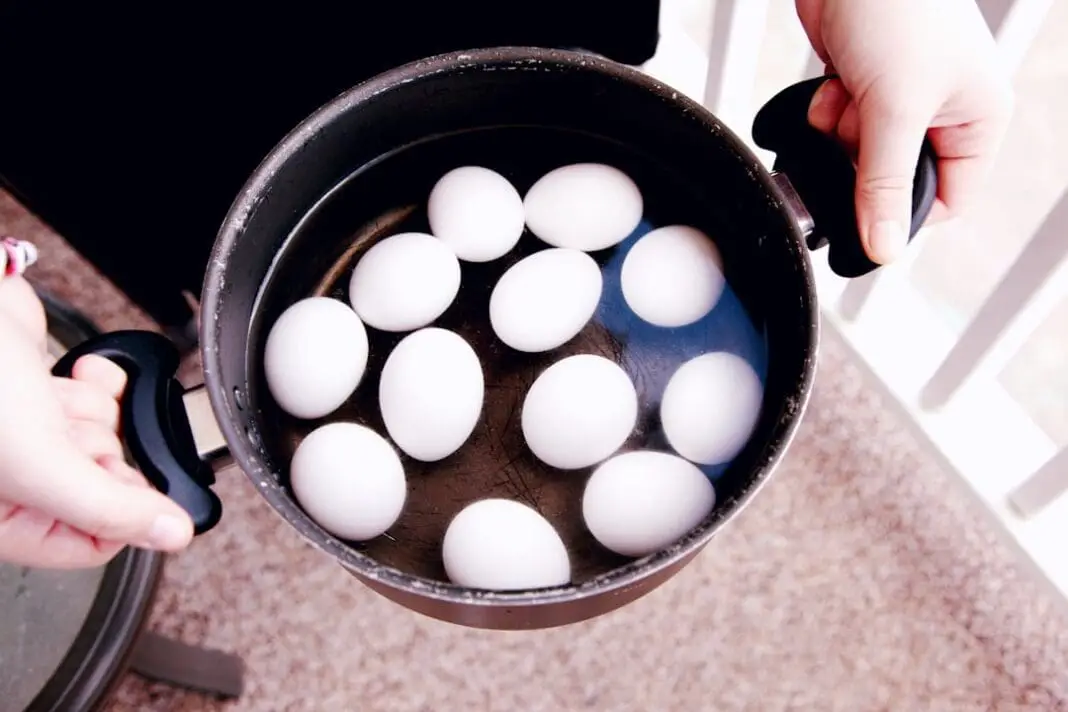
I ruined eggs for years. Cracked shells, whites leaking out like ghostly tentacles in the water, yolks that looked like they’d been cooked in a parking lot in July. I blamed the eggs. I blamed the pot. I blamed the stove. Turns out, I was doing one incredibly simple thing wrong the entire time, and there’s a good chance you’re doing it too.
I was pulling eggs straight from the fridge and dropping them into boiling water. That’s it. That was the whole problem.
The Cracking Problem Nobody Talks About
Here’s what’s actually happening when you take a 38°F egg and plunge it into 212°F water. The shell, the whites, and the yolk are all sitting at fridge temperature. The second they hit boiling water, the outside of the egg heats up way faster than the inside. The air pocket inside the egg (yes, every egg has one) starts expanding rapidly. The shell can’t keep up with the pressure, and it cracks.
Sometimes it’s a tiny hairline fracture. Sometimes the shell splits wide open and the whites come billowing out into the water like some kind of egg jellyfish. Either way, you’re left with a waterlogged mess instead of a clean boiled egg. The temperature gap between the cold egg and the boiling water is simply too extreme for the shell to handle gracefully.
And here’s a detail most people don’t know: older eggs are actually MORE likely to crack, not less. As eggs age, moisture slowly evaporates through the porous shell. That air cell inside grows bigger. A bigger air pocket means more air expanding during heating, which means more internal pressure pushing outward against the shell. So those eggs that have been sitting in your fridge for two weeks? They’re practically begging to crack.
Why Your Boiled Eggs Are Impossible to Peel
Cracking isn’t even the most annoying part. If you’ve ever spent five minutes trying to peel a hard-boiled egg and ended up with something that looks like the moon’s surface, the fridge-to-pot move is probably why.
When a cold egg heats up slowly, the proteins in the egg white gradually denature and bond directly to the thin membrane lining the inside of the shell. Christopher Kimball’s Milk Street compares it to how an egg sticks to a stainless steel pan that hasn’t been properly preheated. The white essentially glues itself to the shell. When you try to peel it, huge chunks of white come off with the shell, leaving you with a pitted, ugly egg that’s lost half its substance.
Kimball actually admitted that starting eggs in cold water was the method in his first cookbook, and he called it “a disaster.” Shells stuck as if they were glued to the white. If a guy who has written multiple cookbooks couldn’t make it work, the rest of us don’t stand a chance.
This is especially brutal when you’re making deviled eggs. You need smooth, pretty egg white halves. One bad peel and the whole egg is ruined. You’re not putting a crater-faced egg on a platter for Thanksgiving.
The Science Behind Thermal Shock
The term for what happens is “thermal shock,” and it’s not just a cooking thing. It’s the same reason you don’t pour boiling water into a cold glass, or why a frozen windshield can crack if you blast it with hot water. Materials expand and contract at different rates when subjected to sudden temperature changes, and eggshells are no exception.
An eggshell is surprisingly complex. It’s porous, it’s brittle, and two eggs sitting right next to each other in the same carton can have meaningfully different shell thickness and strength. That’s why one egg survives the boiling water drop and the one right next to it cracks. It’s not random luck. It’s structural variation meeting extreme temperature change.
Cold eggs can also mess with your cooking times. When you drop a cold egg into boiling water, the water temperature drops briefly. It stops boiling for a moment. That throws off your timing. You think you’ve cooked the egg for 12 minutes, but the first minute or two wasn’t actually at a full boil. So you end up with undercooked yolks when you expected fully set ones, or you overcompensate and cook them too long, ending up with that ugly green-gray ring around the yolk.
That Gross Green Ring on Your Yolk
Speaking of that green-gray ring. You know the one. You cut open a hard-boiled egg expecting a nice golden yolk and instead it looks like it’s been dipped in swamp water. That discoloration is iron sulfide, and it forms when sulfur in the egg white reacts with iron in the yolk. It happens when eggs cook too long or at too high a temperature.
The cold-egg-to-boiling-water method makes this way more likely because your timing is already off. The water temperature dropped when you added the eggs, so you cook them longer to compensate, and boom. Green ring. It won’t change the taste, but it looks terrible. Nobody wants to eat an egg that looks like it went bad.
The Fix Takes Five Minutes (Literally)
The solution to all of this is so simple it’s almost insulting. Just take your eggs out of the fridge before you start cooking. That’s it. No special equipment. No weird hacks. Just time.
The easiest approach: pull your eggs out of the fridge at the same moment you put your pot of water on the stove. By the time the water comes to a boil (usually around 5 minutes, depending on your stove and the amount of water), the eggs will have warmed up enough to dramatically reduce the temperature difference. They don’t need to reach full room temperature. They just need to not be ice cold.
If you forgot to take them out early, there’s a faster method. Put the eggs in a bowl, fill it with warm (not hot) tap water, and let them sit for 5 to 10 minutes. That takes the chill off quickly without any risk.
Some sources recommend letting eggs sit at room temperature for a full 20 to 30 minutes if you have the time, but honestly, even 5 minutes makes a real difference.
Hot Start vs. Cold Start: Which Actually Works
There are two main schools of thought for boiling eggs, and this is where things get interesting because they sort of contradict each other.
The “cold start” method means putting eggs in the pot with cold water, then bringing everything to a boil together. The eggs warm up gradually alongside the water, which avoids thermal shock entirely. Sauder’s Eggs and several other sources recommend this approach for crack prevention. Once the water reaches a rolling boil, you turn off the heat, cover the pot, and let the eggs sit: 3 minutes for soft-boiled, 6 for medium, 12 for hard-boiled.
The “hot start” method means boiling the water first, then gently lowering room-temperature eggs into it. This is the method that produces the easiest-to-peel eggs because the sudden heat causes the whites to pull away from the membrane instead of bonding to it. Milk Street swears by this approach. A food scientist cited by Phys.org confirmed that starting in already-boiling water, combined with a rapid ice bath afterward, creates the best conditions for clean peeling.
So here’s the takeaway: if your main concern is preventing cracks, the cold start is safer. If your main concern is easy peeling, the hot start wins, but you MUST let the eggs warm up first. Either way, pulling eggs straight from the fridge and tossing them into boiling water is the worst of both worlds.
The Ice Bath Is Non-Negotiable
No matter which method you use, you need an ice bath at the end. This isn’t optional. As soon as your eggs are done cooking, transfer them to a bowl of ice water and let them sit for at least 5 minutes, fully submerged. Milk Street tested the exact ratios: for 4 eggs, you need at least one tray of ice cubes and 2 cups of water. For 12 eggs, you need three trays and 6 cups of water.
The ice bath stops the cooking immediately, which prevents overcooking and that green ring. It also causes the egg to contract slightly inside the shell, creating a tiny gap between the white and the membrane. That gap is what makes peeling easy.
Skip the ice bath and even perfectly cooked eggs become a pain to peel.
Does Pricking the Shell Actually Help?
You’ve probably heard the tip about using a thumbtack or pin to poke a tiny hole in the fat end of the egg before boiling. The idea is that it lets the expanding air escape, reducing pressure inside the shell and preventing cracks.
Does it work? Barely. A large-scale experiment that tracked roughly 3,000 boiled eggs found that about 12% of unpricked eggs cracked, compared to 10% of pricked eggs. That’s a marginal improvement at best. You’re better off just letting the egg warm up for 5 minutes. That single change makes a bigger difference than any other variable.
Why Americans Have It Harder Than Europeans
Here’s an annoying little detail. In most of Europe, eggs sit on store shelves at room temperature. They’re not refrigerated. This is because European egg producers don’t wash the natural protective coating (called the bloom or cuticle) off the shell, which keeps bacteria out and means the eggs don’t need refrigeration.
In the U.S., eggs are washed during processing. That removes the bloom, makes the shells porous, and means they have to be refrigerated. So every time an American wants to boil an egg, there’s an extra step baked into the process that Europeans never have to deal with. Their eggs are already at room temperature, sitting right there on the counter. Ours are sitting at 38°F in the back of the fridge.
It’s not a huge deal once you know about it. But it does explain why your grandmother in Italy never seemed to have trouble boiling eggs and you can’t get through a batch without cracking half of them.
The Simple Version
Pull eggs from the fridge when you start heating water. Wait for the water to boil. Lower the eggs in gently (a slotted spoon works great). Cook for 6 to 7 minutes for jammy yolks, 9 minutes for medium, 12 to 13 minutes for fully hard-cooked. Transfer immediately to an ice bath for at least 5 minutes. Peel under running water.
That’s the whole thing. No gadgets, no tricks, no vinegar in the water. Just give the eggs five minutes to warm up before they hit the pot. It’s the smallest adjustment you can make in a kitchen, and it fixes one of the most common cooking frustrations in America. Once you start doing it, you’ll wonder why you ever did it any other way.

