Making homemade ice cream might seem like a task reserved for those with fancy ice cream machines, but your trusty blender is about to become your new favorite frozen dessert tool. This no-fuss method produces incredibly smooth ice cream that rivals store-bought varieties.
Start with these three essential ingredients

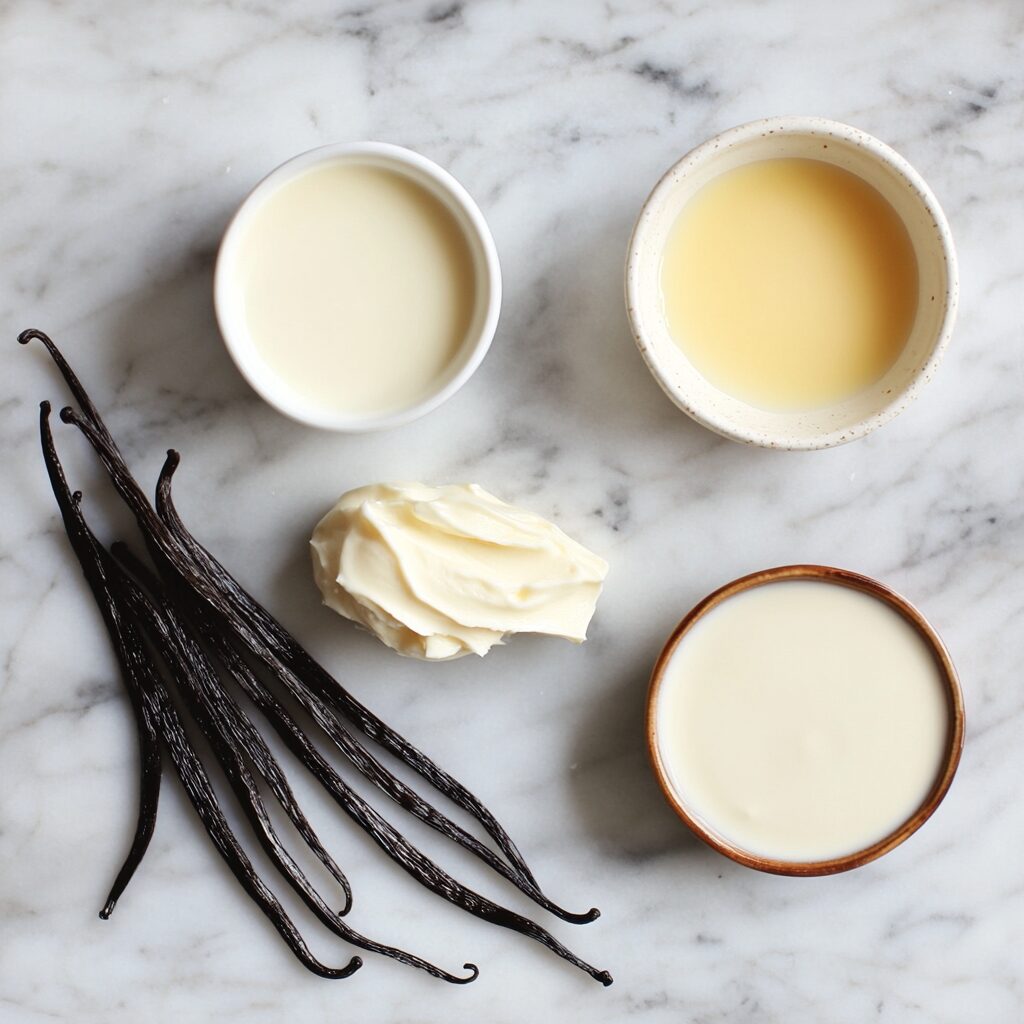
The foundation of perfect blender ice cream begins with just three ingredients: heavy cream, sweetened condensed milk, and pure vanilla extract. The heavy cream provides rich, creamy texture, while sweetened condensed milk prevents ice crystals from forming and ensures smooth results. Pure vanilla extract adds depth to the base flavor.
For the best results, use cold heavy cream with at least 36% fat content. The higher fat percentage creates a smoother final texture and helps prevent iciness. Choose full-fat sweetened condensed milk rather than light versions, as the fat content is crucial for proper freezing.
Proper freezing prevents ice crystals
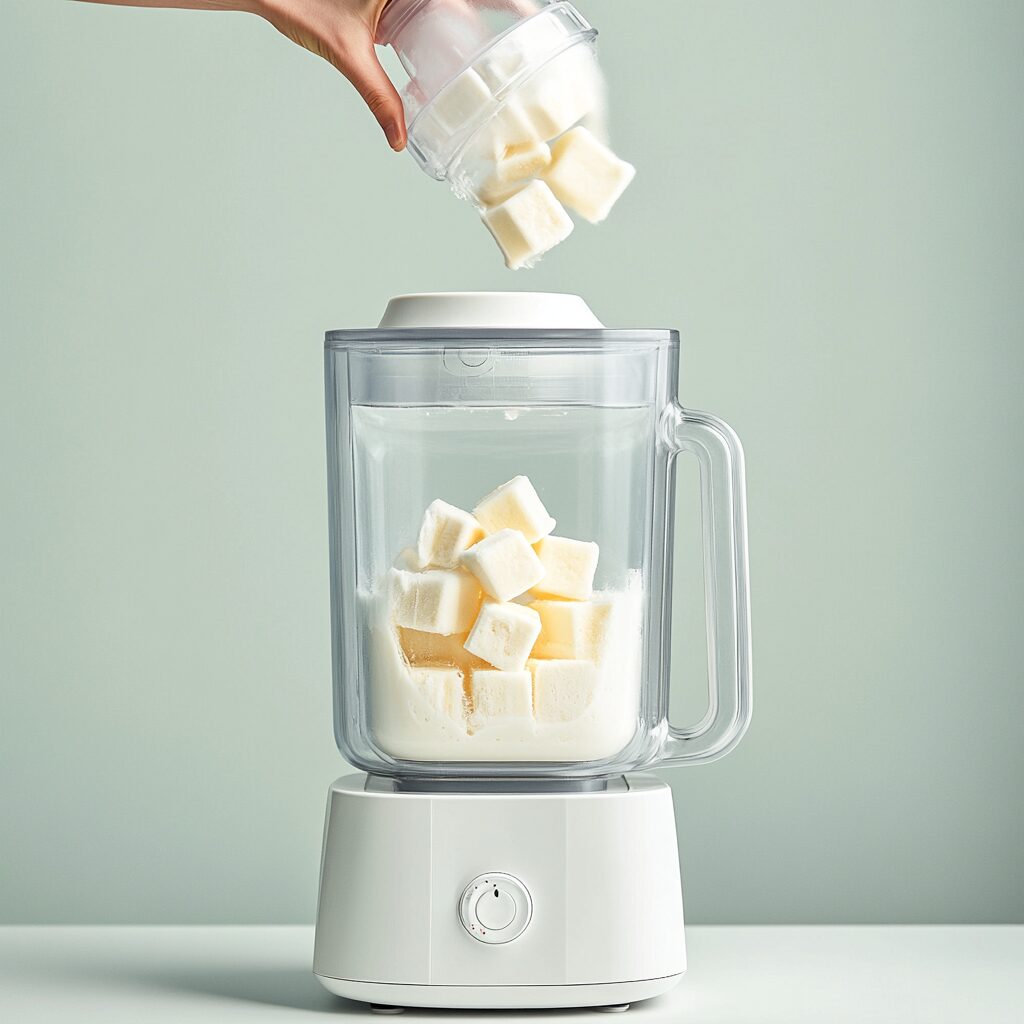
The secret to smooth blender ice cream lies in the freezing process. Pour your prepared mixture into ice cube trays and freeze overnight – this creates small, manageable portions that your blender can easily process. Cover the trays with plastic wrap to prevent freezer burn and absorption of other flavors.
When freezing the final blended ice cream, use a shallow, freezer-safe container. The wider surface area allows for faster freezing, which reduces the formation of ice crystals. Press plastic wrap directly onto the surface of the ice cream before adding the lid.
Blending technique matters for smooth results

When blending your frozen ice cream base, work in small batches rather than overwhelming your blender. Add the frozen cubes gradually, using the pulse function initially to break them down. This prevents motor strain and ensures even blending.
If the mixture becomes too thick, add small amounts of cold milk – one tablespoon at a time – to achieve the perfect consistency. Avoid over-blending, which can cause the mixture to melt too much and create a grainy texture when refrozen.
Create custom flavors with mix-ins
Once you’ve mastered the basic vanilla base, transform it into countless variations. Add cocoa powder or melted chocolate for chocolate ice cream, fresh fruit puree for fruit flavors, or cookie pieces for cookies and cream. Mix-ins should be added after blending to maintain their texture.
For swirled ice creams, layer your mix-ins between portions of the blended ice cream base in your storage container. Use a knife to create swirls, being careful not to over-mix. This technique works particularly well with natural peanut butter or fruit preserves.
Non-dairy alternatives work too

For dairy-free versions, substitute heavy cream with full-fat coconut milk and sweetened condensed milk with coconut condensed milk. These alternatives maintain the necessary fat content for proper freezing and a creamy texture. Other plant-based milks often lack sufficient fat content and may result in icy texture.
When using coconut milk, choose brands that contain guar gum or other stabilizers, as these help prevent separation and create a smoother finished product. Shake the cans well before using to ensure the cream and liquid are fully combined.
Storage tips for maintaining texture
Store your blender ice cream in a freezer-safe container with a tight-fitting lid. The ideal storage temperature is between 0°F and -10°F. Allow the ice cream to sit at room temperature for 5-10 minutes before serving to achieve the perfect scooping consistency.
Homemade blender ice cream is best consumed within two weeks of making. Beyond this time, ice crystals may begin to form and affect the texture. If you notice ice crystals developing, briefly reblend the ice cream to restore its smooth texture.
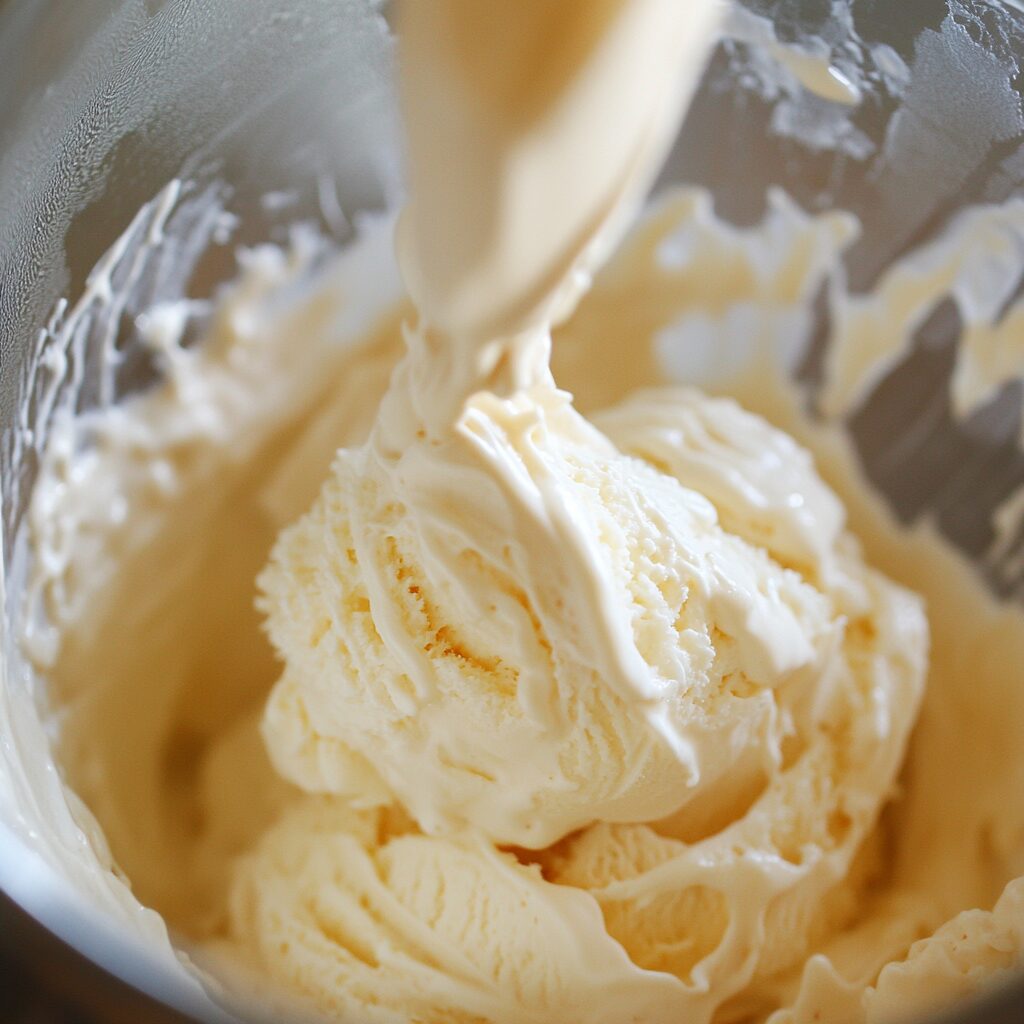
With these techniques mastered, your blender becomes a versatile ice cream making tool. The possibilities for flavors and combinations are endless, and you’ll have the satisfaction of creating your own frozen treats without special equipment. Remember that practice makes perfect – each batch will help you refine your technique and discover your preferred consistency and flavor combinations.
Easy Blender Ice Cream
Course: DessertCuisine: American4
servings30
minutes40
minutes300
kcalCreate silky-smooth homemade ice cream using just your blender and a few simple ingredients – no ice cream machine needed!
Ingredients
2 cups heavy cream (cold)
14 oz sweetened condensed milk
2 teaspoons pure vanilla extract
1/4 teaspoon salt
Directions
- In a large bowl, whip the cold heavy cream using an electric mixer until stiff peaks form. The cream should be very cold to achieve the best volume and texture. This usually takes about 2-3 minutes on medium-high speed.
- Combine the sweetened condensed milk, vanilla extract, and salt in a separate bowl. Mix well to ensure the vanilla and salt are evenly distributed throughout the condensed milk. This creates your flavor base.
- Gently fold the whipped cream into the sweetened condensed milk mixture using a rubber spatula. Use a gentle folding motion to maintain as much air in the whipped cream as possible. Continue folding until no streaks remain.
- Pour the mixture into ice cube trays, making sure not to overfill. Cover each tray tightly with plastic wrap to prevent freezer burn. Place the trays on a level surface in the freezer and freeze until solid, about 4-6 hours or overnight.
- Once frozen, transfer the ice cream cubes to your blender. Work in batches if necessary, filling the blender no more than halfway. Pulse several times to break up the cubes, then blend on high speed until smooth and creamy.
- If the mixture becomes too thick to blend, add cold whole milk one tablespoon at a time until it reaches a blendable consistency. Be careful not to add too much liquid, as this will affect the final texture.
- Transfer the blended ice cream to a freezer-safe container. If adding mix-ins, fold them in gently at this stage. Smooth the top with a spatula and press a piece of plastic wrap directly onto the surface of the ice cream.
- Freeze for at least 2 hours or until firm. Before serving, let the ice cream sit at room temperature for 5-10 minutes to soften slightly for easier scooping. Serve with your favorite toppings.
Notes
- Always use full-fat heavy cream and sweetened condensed milk for the best texture
- Ensure all ingredients are very cold before starting
- For chocolate ice cream, add 1/3 cup unsweetened cocoa powder to the condensed milk mixture
- For fruit flavors, reduce vanilla to 1 teaspoon and add 1 cup of pureed fruit to the condensed milk mixture
- Store in an airtight container for up to 2 weeks
Frequently Asked Questions About Blender Ice Cream
Q: Why does my blender ice cream become icy after freezing?
A: Iciness usually occurs when there’s too much liquid or the mixture isn’t blended thoroughly enough. Make sure to use full-fat ingredients, minimize added liquid during blending, and store properly with plastic wrap directly touching the surface to prevent ice crystal formation.
Q: Can I use a regular blender instead of a high-powered one?
A: Yes, you can use a regular blender, but you’ll need to work in smaller batches and may need to stop occasionally to break up larger chunks with a spoon. The process might take longer, but the end result will be similar.
Q: How long can I store homemade blender ice cream?
A: When stored properly in an airtight container with plastic wrap pressed directly onto the surface, homemade blender ice cream will maintain its best quality for up to 2 weeks in the freezer at 0°F or below.
Q: Can I make this recipe dairy-free?
A: Yes, substitute heavy cream with full-fat coconut cream and sweetened condensed milk with coconut condensed milk. Other non-dairy alternatives may not provide enough fat content for proper freezing and texture.


