
My friend Jess went vegan about four years ago. Not the quiet, personal kind of vegan — the kind who brought her own cashew cheese to potlucks and once spent forty-five minutes explaining the environmental impact of dairy farming while I was trying to eat nachos. I love her. But I stopped inviting her to cookouts because she’d just sit there looking mildly disgusted while the rest of us ate burgers.
Then, last summer, something changed. I was making smash burgers on my cast iron out on the back patio. Not fancy ones — just beef, salt, a hot pan, and American cheese. The smell carried. Jess walked over, watched me scrape one off the griddle with that deeply browned, lacy crust clinging to the bottom, and said, “Can I just try a bite?”
She ate two full burgers. Bun and all. And look, I’m not here to tell anyone what to eat. But I am here to give you the exact recipe that broke a four-year streak, because a smash burger done right is one of the most irresistible things you can put on a plate.
Why a Smash Burger Hits Different
A regular burger is fine. A thick pub-style patty cooked medium-rare has its place. But a smash burger operates on a completely different principle, and that principle is the Maillard reaction — the chemical process that happens when proteins and sugars in the beef hit extreme heat and create that dark, crunchy, impossibly flavorful crust.
Instead of a fat, round patty that stays pink in the middle, you’re taking a loose ball of ground beef and pressing it paper-thin against a screaming-hot surface. More surface area means more crust. More crust means more flavor. The fat renders out and essentially fries the underside of the patty in its own juices. The edges go crispy and lacy, almost like a beef chip, while the center stays just barely juicy enough to melt into the cheese.
That’s what got Jess. Not a complicated recipe. Not a fancy technique. Just beef on a hot pan, done with intention. The smell alone could convert a monk.
The Meat Matters More Than You Think
You need 80/20 ground chuck. This is non-negotiable. That 20% fat content is what gives you a juicy patty with edges that crisp up beautifully. If you grab one of those 93/7 or 90/10 lean tubes from the grocery store, you’re going to end up with dry, cardboard-tasting patties that defeat the entire purpose of making a smash burger in the first place.
Some folks use Certified Angus Beef, which is great if your store carries it. But honestly, the regular 80/20 ground chuck from Walmart or Kroger works perfectly. This isn’t a steak dinner. The magic comes from technique, not a premium price tag.
For portioning, you want small, loose balls — about 2.5 to 3 ounces each, roughly the size of a golf ball. One pound of beef gives you four balls, which makes two double-stacked burgers or four singles. Don’t pack them tight. Don’t roll them smooth. Just gently cup the meat into a ball and leave it alone. Overworking ground beef is how you end up with a tough, dense puck instead of a tender burger.
Get the Pan Ripping Hot — Then Don’t Touch Anything
Heat is everything. You want your cast iron skillet or flat-top griddle at 400 to 450°F before a single ball of beef touches the surface. If you don’t have an infrared thermometer (they’re like twelve bucks on Amazon and worth every penny), drop a few beads of water on the surface. If they dance and evaporate in two to three seconds, you’re in the zone.
Place a beef ball on the pan and immediately smash it. I mean immediately — within one second. If you wait, the fat starts rendering before the crust has a chance to form, and you lose that beautiful sear. Cover the ball with a piece of parchment paper and press down hard with a sturdy spatula, a burger press, or even the bottom of a heavy pan. You want that patty about a quarter-inch thick. Hold the press for a full ten seconds to make sure every bit of meat is in contact with the hot surface.
Then — and this is critical — walk away. Don’t poke it. Don’t peek. Don’t nudge it around. Let it sit undisturbed for 60 to 90 seconds so that crust can develop. You’ll know it’s time to flip when the edges look deeply browned and the patty releases easily when you slide a spatula under it.
When to Season (and Why Most People Get It Wrong)
Here’s a tip that changed my smash burgers completely: do not season the beef before you press it. If you add salt to the meat before smashing, the salt immediately starts pulling moisture to the surface. That moisture creates a thin layer of steam between the patty and the pan, which actively works against the crust you’re trying to build.
Instead, smash the patty first, then season the exposed top with kosher salt and freshly cracked black pepper while the bottom side is busy building that crust. When you flip, the seasoned side hits the pan and gets locked in. Simple, but it makes a huge difference.
Some recipes call for mixing Worcestershire sauce, fish sauce, onion powder, and smoked paprika into the beef before forming the balls. That’s a valid approach if you want extra flavor baked into the meat, but I prefer keeping it clean — just beef, salt, and pepper — and letting the crust do the talking.
American Cheese Is the Only Right Answer
I know. I can already hear someone typing “but what about aged cheddar” in the comments. Save it. This is not the time for fancy cheese. American cheese exists for exactly this purpose — it melts fast, it melts evenly, and it has a creamy, salty flavor that wraps around the beefy crust like it was designed for this exact moment. Because it kind of was.
The second you flip the patty, slap on a slice of American cheese and let it melt for about 30 to 45 seconds. If you’re doing doubles (which you should), stack two cheesed patties together so the melted cheese glues them into one glorious tower. A little dome of aluminum foil over the top helps the cheese melt faster if your kitchen is cool.
The Bun Situation
Toast your buns. Please, for the love of everything, toast your buns. Take whatever soft potato buns or Martin’s rolls you’ve got and spread a thin layer of butter on the cut sides. Press them butter-side down in the same skillet you cooked the burgers in — all that leftover beef fat and rendered butter will soak into the bread and turn it golden and slightly crisp. It takes about thirty seconds. It makes the whole burger.
A soft, untoasted bun will fall apart the second the beef juices and melted cheese hit it. A toasted bun holds its structure and adds another layer of texture. It’s a tiny step that separates a great burger from a forgettable one.
Assembly Order Actually Matters
Here’s my preferred stack, bottom to top: mayo on the bottom bun, then lettuce, then thinly sliced red onion, then the double-stacked patties with cheese, then pickles, then mustard on the top bun. The lettuce and onion go below the patties so the heat from the meat doesn’t wilt them. The pickles go on top so they stay crisp and cold — that contrast against the hot beef is one of those things that makes people close their eyes when they take the first bite.
Want to get a little extra? Add crispy bacon, caramelized onions, or a smear of spicy chipotle mayo. But honestly, plain is perfect. The crust on the beef does most of the heavy lifting.
One Last Thing: Eat It Immediately
A smash burger has a shelf life of about three minutes. That crust — the entire reason you made this thing — starts softening the second the patty comes off the heat. Steam builds inside the bun, the cheese firms up, and the magic fades. Make these to order. Have your buns toasted and your toppings laid out before the first ball hits the pan. When that burger is assembled, hand it directly to whoever’s eating it and tell them to start immediately.
That urgency is part of the experience. There’s something almost theatrical about watching someone scrape a crust off a cast iron and hand you a burger that’s still sizzling. It’s why Jess walked over in the first place. The sound, the smell, the speed — it all pulls people in. Even people who haven’t eaten beef in four years.
4
burgers10
minutes10
minutes480
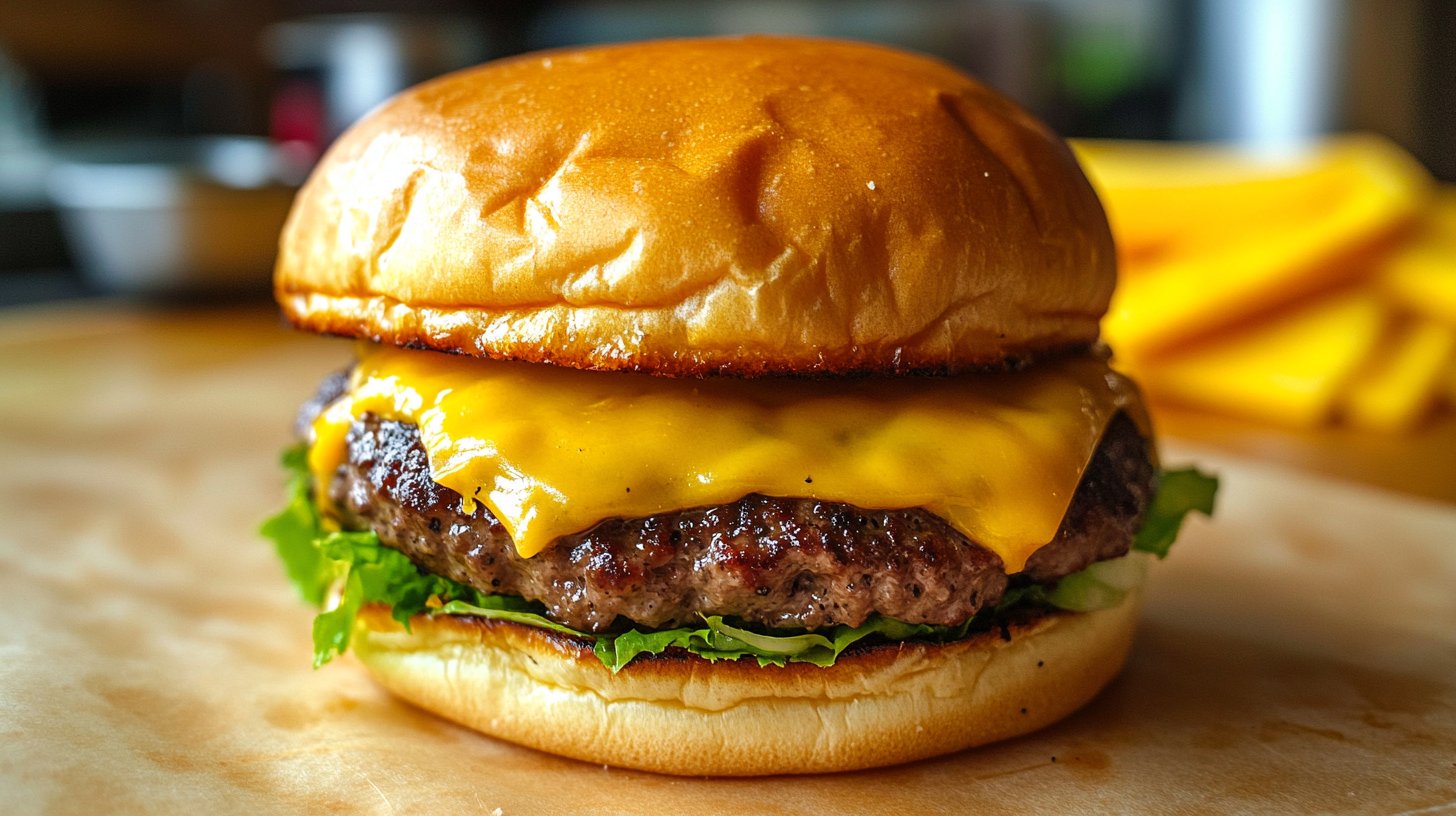
kcalThin, crispy-edged beef patties with melted American cheese on buttery toasted buns — the burger so irresistible it ended a four-year vegan streak.
Ingredients
1 pound 80/20 ground chuck
Kosher salt
Freshly cracked black pepper
4 slices American cheese
4 soft potato buns or Martin’s rolls
2 tablespoons unsalted butter, softened
Mayonnaise for the bottom bun
Yellow mustard for the top bun
Toppings: lettuce, thinly sliced red onion, dill pickles
Directions
- Divide 1 pound of ground chuck into four equal portions, about 2.5 to 3 ounces each. Gently form them into loose balls — do not pack them tight or roll them smooth. The looser the ball, the more tender and crispy the finished patty will be.
- Preheat a cast iron skillet or flat-top griddle over high heat until it reaches 400 to 450°F. Test by dropping a few beads of water on the surface — they should dance and evaporate within 2 to 3 seconds. The pan needs to be ripping hot before any beef touches it.
- Prep your toppings and toast your buns before cooking the patties. Spread butter on the cut sides of each bun and press them butter-side down in the hot skillet for about 30 seconds until golden. Set them aside on a plate.
- Place one or two beef balls on the hot skillet — do not crowd the pan. Immediately cover each ball with a piece of parchment paper and press down firmly with a sturdy spatula or burger press until the patty is about ¼-inch thick. Hold the press for a full 10 seconds to ensure maximum contact with the hot surface.
- Season the top of each pressed patty generously with kosher salt and black pepper while the bottom side builds its crust. Do not move or touch the patty — let it cook undisturbed for 60 to 90 seconds until the edges are deeply browned and crispy.
- Use a firm spatula to scrape the patty off the surface in one clean motion — you want every bit of that caramelized crust to come with it. Flip the patty and immediately place a slice of American cheese on top. Cook for another 30 to 45 seconds.
- Remove the patty from the skillet. If making doubles, stack two cheesed patties together. Repeat with remaining beef balls, working quickly to keep things hot and fresh.
- Spread mayo on the bottom bun. Layer lettuce, then thinly sliced red onion, then the stacked patties. Add pickles on top. Spread mustard on the top bun and close it up. Serve immediately — the crust starts softening within minutes.
Notes
- You can form beef balls up to 24 hours ahead and refrigerate them on a parchment-lined plate covered with plastic wrap. Cold balls actually smash better on a hot surface.
- If you don’t have a burger press, the bottom of a heavy saucepan works great — just cover the beef ball with parchment paper first so it doesn’t stick.
- Do not use lean ground beef (90/10 or 93/7). The fat content in 80/20 is what creates the crispy edges and keeps the patty juicy. Lean beef makes dry, flavorless smash burgers.
Frequently Asked Questions
Q: Can I make smash burgers on a regular nonstick pan?
A: You can, but they won’t be as good. Nonstick pans don’t retain heat the way cast iron does, so the temperature drops when the beef hits the surface and you won’t get as deep of a crust. A cast iron skillet or a flat-top griddle is the way to go for the best results.
Q: Why do you say not to season the beef before smashing?
A: Salt draws moisture out of the meat immediately. That moisture creates a thin layer of steam between the patty and the pan, which prevents the crust from forming properly. Season the top of the patty after it’s already been smashed and is sitting on the hot surface — this way you get full contact and maximum crust.
Q: Can I use a different type of cheese?
A: Sure, cheddar, pepper jack, and Swiss all taste great on a burger. But American cheese melts faster and more evenly than any of them, and that creamy, almost liquid melt is a big part of what makes a smash burger feel complete. Try American first, then experiment if you want.
Q: How many smash burgers can I cook at once?
A: It depends on your pan size, but don’t crowd them. In a standard 12-inch cast iron skillet, two patties at a time is the max. Overcrowding drops the pan temperature and creates steam, which kills the crust. Work in batches and keep it hot.