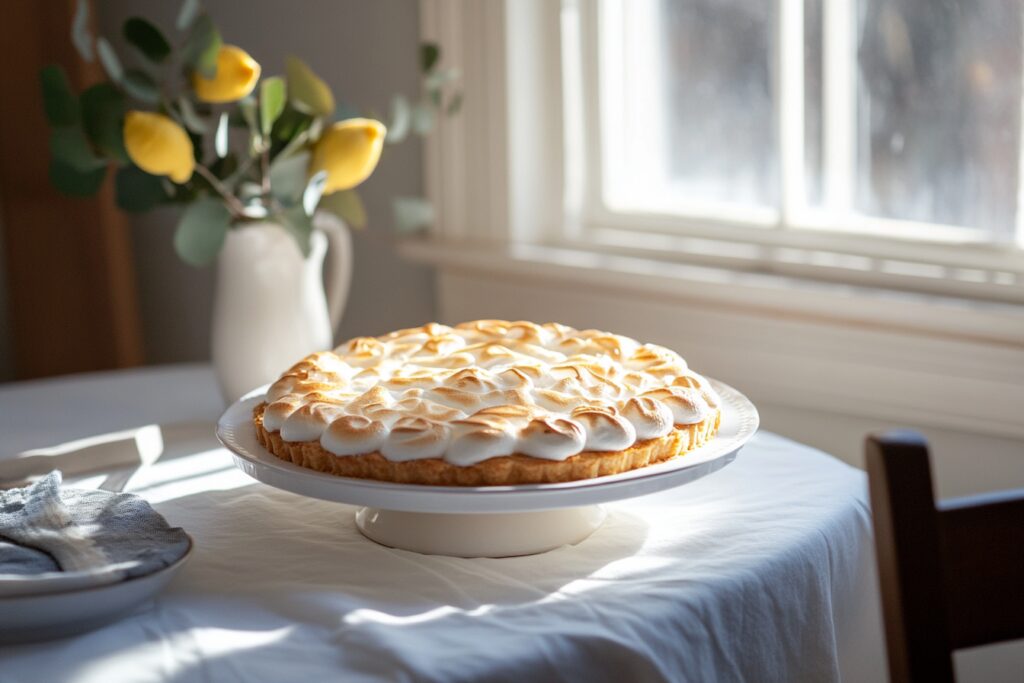
When it comes to crowd-pleasing desserts, Martha Stewart’s Upside-Down Lemon Meringue Pie stands out as her signature creation. Taking a bold twist on the traditional version, this innovative dessert has become such a sensation that it earned a permanent spot on the menu at her first-ever restaurant, The Bedford in Las Vegas.
The story behind this signature dessert

Unlike traditional lemon meringue pie where meringue tops the lemon curd, Martha’s version flips convention on its head – quite literally. The meringue forms the base, creating a sturdy yet ethereal foundation for the silky lemon filling. This innovative approach not only creates a stunning presentation but also ensures each bite contains the perfect balance of textures.
The inspiration came from Martha’s countless experiments with classic desserts at her test kitchen in Bedford, New York. Her goal? To elevate familiar favorites with unexpected twists that make them memorable.
What makes the lemon filling special
The star of this dessert is undoubtedly the lemon filling. Martha insists on using fresh lemon juice – never bottled – and adds a hint of orange zest for depth. The filling strikes a delicate balance between sweet and tart, avoiding the cloying sweetness that often plagues store-bought versions.
A crucial element is the careful cooking process. The filling must be stirred constantly over medium heat until it reaches the perfect consistency – thick enough to hold its shape when cut, but still smooth and creamy. What if you don’t achieve the right thickness? Martha suggests adding an extra egg yolk next time to enhance the richness and stability.
Mastering the meringue base technique
The meringue base requires precision and patience. Start with room temperature egg whites – they’ll whip up to greater volumes than cold ones. Martha recommends using a stand mixer for consistent results, gradually adding sugar while beating until stiff, glossy peaks form.
The base is piped into a spiral pattern and baked at a low temperature until crisp on the outside but still slightly chewy within. This textural contrast is what sets Martha’s version apart from traditional meringue-topped pies.
Essential tools for perfect results
Success with this recipe relies heavily on having the right equipment. A candy thermometer ensures the lemon filling reaches the proper temperature. A large piping bag fitted with a star tip creates the distinctive meringue pattern that makes this dessert instantly recognizable at The Bedford.
Temperature control is crucial throughout the process. An oven thermometer helps maintain the precise low temperature needed for properly drying the meringue without browning it. Martha emphasizes the importance of checking your oven’s accuracy, as even small temperature variations can affect the final texture.
Serving and storage recommendations

The dessert should be assembled no more than two hours before serving to maintain the contrasting textures. Martha suggests chilling the lemon filling and meringue base separately if making components ahead of time. When ready to serve, the pie can be garnished with fresh mint leaves or candied lemon slices for an elegant finishing touch.
This remarkable dessert has become such a favorite that guests at The Bedford often order it before their main course to ensure they don’t miss out. The combination of tart lemon filling and ethereal meringue creates an unforgettable ending to any meal, proving why this particular creation holds such a special place in Martha’s repertoire.
Martha Stewart’s Upside-Down Lemon Meringue Pie
Course: DessertCuisine: American4
servings30
minutes40
minutes300
kcalA revolutionary twist on the classic lemon meringue pie featuring a crisp meringue base and silky lemon filling.
Ingredients
6 large egg whites, room temperature
1½ cups granulated sugar
¼ teaspoon cream of tartar
Pinch of salt
6 large egg yolks
1 cup fresh lemon juice (about 6 lemons)
2 tablespoons orange zest
¼ cup cornstarch
4 tablespoons unsalted butter, cut into pieces
Directions
- Preheat oven to 200°F (95°C). Line a baking sheet with parchment paper and draw an 8-inch circle on the paper. Turn the paper over so the circle is on the reverse side. Using an electric mixer with a whisk attachment, beat egg whites on medium speed until foamy. Add cream of tartar and salt, continuing to beat until soft peaks form.
- Gradually add 1 cup of sugar, one tablespoon at a time, beating on high speed until stiff, glossy peaks form and sugar is completely dissolved. Transfer meringue to a piping bag fitted with a large star tip. Starting from the center of the circle, pipe meringue in a spiral pattern, building up the edges slightly to create a shallow bowl shape.
- Bake meringue for 1½ hours or until crisp and dry on the outside but still slightly chewy inside. Turn off oven and leave meringue inside with door closed for an additional hour. Remove from oven and let cool completely on the baking sheet.
- In a medium saucepan, whisk together remaining ½ cup sugar, cornstarch, and egg yolks until smooth. Gradually whisk in lemon juice and orange zest. Cook over medium heat, stirring constantly with a wooden spoon, until mixture comes to a simmer and thickens enough to coat the back of the spoon.
- Remove from heat and stir in butter pieces until completely melted and incorporated. Strain through a fine-mesh sieve into a bowl. Cover surface directly with plastic wrap to prevent a skin from forming. Refrigerate until completely chilled, about 2 hours.
- Carefully transfer the cooled meringue base to a serving plate. Whisk the chilled lemon filling until smooth, then spoon into the center of the meringue base, spreading evenly but leaving a small border around the edge. Refrigerate until ready to serve, up to 2 hours.
Notes
- Ensure all equipment is completely grease-free when making meringue
- Meringue base can be made up to 24 hours in advance if stored in an airtight container
- Use fresh lemons for the best flavor – bottled juice will affect the taste
Frequently Asked Questions
Q: Can I make this dessert ahead of time?
A: While you can prepare the components separately in advance (meringue base up to 24 hours, lemon filling up to 48 hours), the assembled dessert is best enjoyed within 2 hours of putting it together to maintain the contrasting textures.
Q: Why did my meringue base crack?
A: Cracking can occur if the oven temperature is too high or if the meringue is cooled too quickly. Ensure your oven maintains a steady 200°F and allow the meringue to cool gradually in the closed oven as directed.
Q: My lemon filling isn’t thickening properly. What went wrong?
A: The most common cause is not cooking the filling long enough or at too low a temperature. Make sure to cook over medium heat and continue stirring until the mixture visibly thickens and coats the back of a spoon.
Q: Can I use bottled lemon juice instead of fresh?
A: Fresh lemon juice is strongly recommended for this recipe. Bottled juice can have a bitter aftertaste and won’t provide the same bright, fresh flavor that makes this dessert special.


