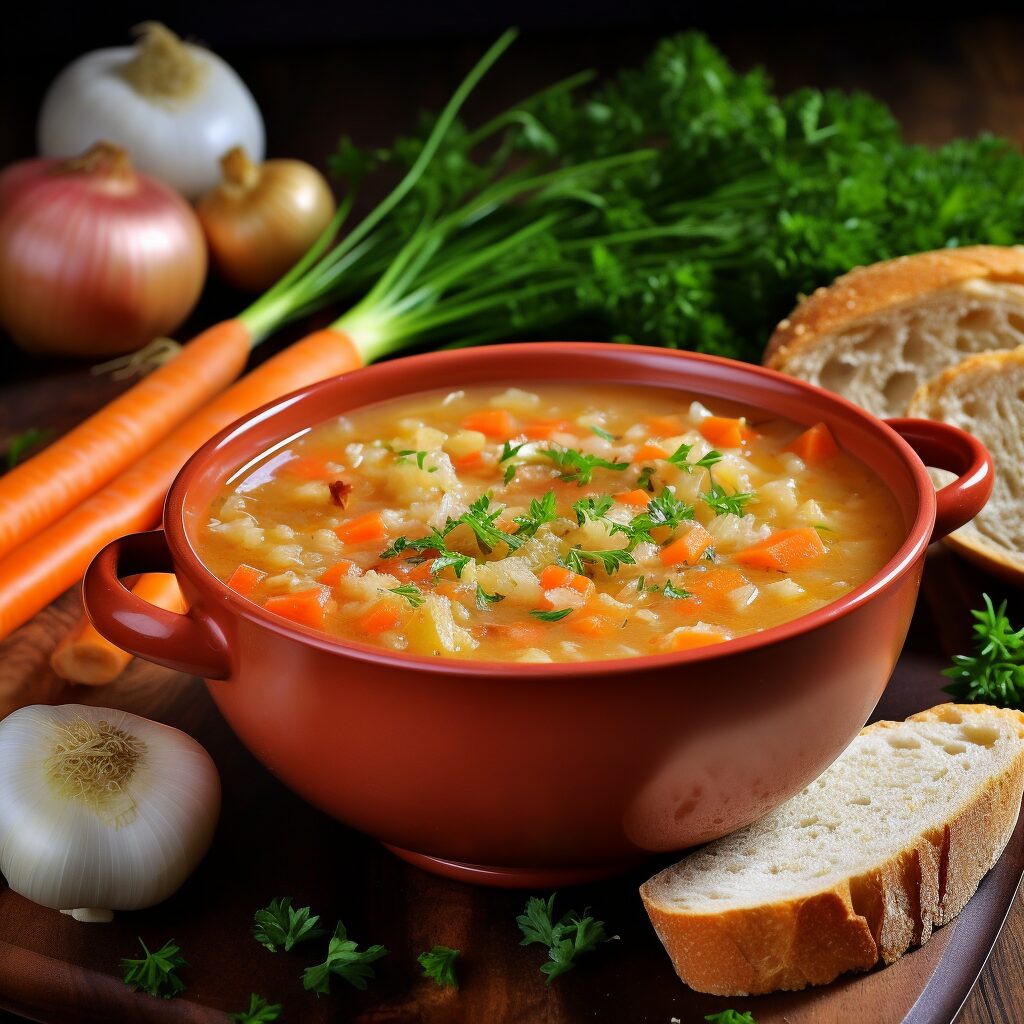
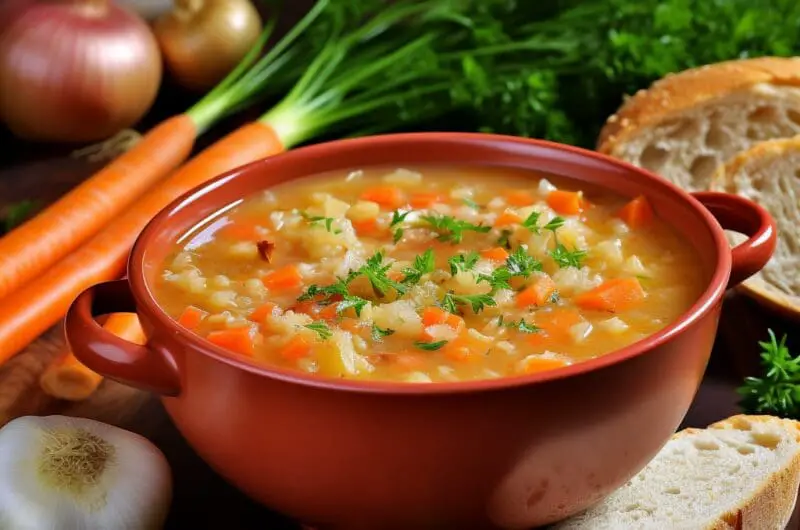
Imagine a soup so rich in history and flavor that it transcends generations, a recipe only remembered by grandmothers. This is not just a dish; it’s a legacy, a warm embrace from the past. In this article, we delve into the heart of traditional cooking to bring back a forgotten classic: the lost soup recipe only grandmas remember. Packed with wholesome ingredients and timeless techniques, this recipe isn’t just food; it’s a piece of culinary heritage.
Unraveling the Mystery of Grandma’s Soup
The essence of this soup lies in its simplicity and the depth of flavors achieved by traditional cooking methods. Often made with basic ingredients like onions, carrots, celery, and garlic, this soup encapsulated the frugality and wisdom of older generations. The key was not in exotic ingredients but in the patience and love with which it was prepared.
Today, we might use modern gadgets for convenience, but the original method involved slow-cooking in a heavy pot, allowing flavors to meld beautifully over time. This process, often overlooked in our fast-paced world, is what gave the soup its unique, comforting taste.
Each ingredient played a pivotal role, with the broth being the soul of the dish. A good quality broth, whether chicken, beef, or vegetable, brought richness and depth. The choice of broth could vary, but its quality could never be compromised.
Tip: Enhance the flavor of your soup by using a homemade broth. It’s a game-changer!
Integrating vegetables like onions, carrots, and celery provided not just nutrition but also layers of flavor. These humble ingredients, often found in any kitchen, were the backbone of the soup. Grandma’s secret was to sauté them gently, coaxing out their natural sweetness.
The use of garlic was another testament to the soup’s rustic roots. Garlic, a universal staple, added a punch of flavor, enhancing the overall profile of the soup without overpowering it.
The Art of Slow Cooking
Grandma’s soup wasn’t just about throwing ingredients into a pot. It was about the art of slow cooking. The longer the soup simmered, the more flavors developed. This slow process, a stark contrast to our current quick-fix meals, was crucial in achieving the soup’s iconic taste.
Slow cooking also meant that tougher, less expensive cuts of meat could be used effectively. As the soup simmered, these cuts turned wonderfully tender, infusing the broth with a rich, meaty essence.
Vegetables added in stages ensured that each maintained its texture and flavor. The early additions melded into the broth, while later additions provided a fresh, vibrant note to the dish.
Tip: Add root vegetables early for depth and leafy greens towards the end for freshness.
Seasoning was another critical aspect. Instead of overpowering the soup with spices, grandmas used them sparingly, allowing the natural flavors of the ingredients to shine. Salt was used judiciously, and herbs like parsley or thyme added a subtle aroma.
Accompaniments also played a role. A slice of homemade bread or a sprinkle of grated cheese could transform the soup into a hearty meal. These simple additions brought another dimension to the dish, making it not just a soup but a complete experience.
Reviving the Tradition in Your Kitchen
Reviving grandma’s soup recipe in your kitchen is not just about following steps; it’s about embracing a piece of history. Start by sourcing fresh, quality ingredients. Remember, the magic of this soup lies in its simplicity and the quality of its components.
Embrace the slow cooking method. Allow yourself to enjoy the process, the aromas, and the gradual unfolding of flavors. This is not just cooking; it’s an act of mindfulness, a connection to a simpler, more grounded way of life.
Feel free to tweak the recipe to suit your palate or dietary needs. The beauty of this soup is its adaptability. Whether you’re a meat-lover or vegetarian, prefer a light broth or a hearty stew, the fundamental technique remains the same.
Tip: Experiment with different herbs and spices to give the soup your personal touch.
Finally, share the soup with loved ones. This recipe was passed down through generations, nurtured by the hands of grandmothers who understood the power of a shared meal. In serving this soup, you’re not just offering nourishment; you’re extending an invitation to connect, to share stories, and to create memories.
In conclusion, the lost soup recipe that only grandmas remember is much more than a list of ingredients and steps. It’s a testament to the power of traditional cooking, a reminder of the beauty in simplicity, and a call to slow down and savor life. By bringing this recipe back to life in your kitchen, you’re not just cooking; you’re keeping a precious piece of heritage alive. So, gather your ingredients, set aside some time, and let the magic of grandma’s soup warm your heart and your home.
Grandma’s Hearty Soup
Course: SoupCuisine: Traditional4
servings30
minutes40
minutes300
kcalRevive the warmth of Grandma’s kitchen with this hearty and nutritious soup, a timeless recipe brimming with flavor and love.
Ingredients
2 carrots, diced
3 stalks celery, diced
4 cloves garlic, minced
1 large onion, diced
1 pinch dried thyme
5 cups good quality broth
Directions
- Begin by preparing your vegetables. Wash, peel, and dice the carrots and celery. Mince the garlic and chop the onion finely. This base of vegetables, known as mirepoix, will provide a flavorful foundation for your soup.
- Heat a large pot over medium heat. Add a splash of olive oil and sauté the onions, carrots, celery, and garlic until they begin to soften and the onions become translucent. This step helps to release the natural sugars in the vegetables, enhancing the soup’s flavor.
- Pour in the broth and bring the mixture to a boil. Once boiling, reduce the heat to low, allowing the soup to simmer gently. Add a pinch of dried thyme for an aromatic touch. The simmering process melds the flavors together and infuses the broth with the essence of your mirepoix.
- Allow the soup to simmer uncovered for about 1.5 to 2 hours, stirring occasionally. This long simmering time is key to developing deep, rich flavors. The soup will reduce slightly, concentrating the flavors and tenderizing any additional ingredients you may choose to add.
- Taste and adjust the seasoning as needed. Salt and pepper can be added to enhance the natural flavors of the soup. Remember, the key to a perfect soup is balancing the seasoning to your personal preference.
- Serve the soup hot. For an added touch, garnish with fresh herbs or a sprinkle of grated cheese. Accompany with crusty bread for a complete and satisfying meal. Enjoy the rich and hearty flavors that have been lovingly simmered into every spoonful.
Notes
- This soup can be stored in the refrigerator for up to 3 days or frozen for up to 3 months. Reheat gently before serving.
- Feel free to add other vegetables, beans, or even some cooked meat to the soup for variation.
- For a vegetarian version, use vegetable broth instead of chicken or beef broth.
Frequently Asked Questions
Q: Can I make this soup in a slow cooker?
A: Absolutely! Prepare the vegetables as directed and place them in the slow cooker with the broth and seasonings. Cook on low for 6-8 hours or on high for 3-4 hours for perfectly blended flavors.
Q: How can I thicken the soup if it’s too watery?
A: To thicken the soup, you can blend a portion of the cooked vegetables and return them to the pot. Alternatively, a slurry made of cornstarch and water can be stirred in and cooked for a few minutes until the soup thickens.
Q: What are some variations I can try with this soup?
A: This soup is incredibly versatile. Add in potatoes, leeks, or even some cooked rice or pasta for a heartier meal. For a protein boost, consider adding cooked chicken, beef, or beans.
Q: What are some variations I can try with this soup?
A: This soup is incredibly versatile. Add in potatoes, leeks, or even some cooked rice or pasta for a heartier meal. For a protein boost, consider adding cooked chicken, beef, or beans.
Q: Is this soup suitable for freezing?
A: Yes, this soup freezes beautifully. Cool it completely and store it in airtight containers. It can be frozen for up to 3 months. Thaw in the refrigerator overnight and reheat gently before serving.


