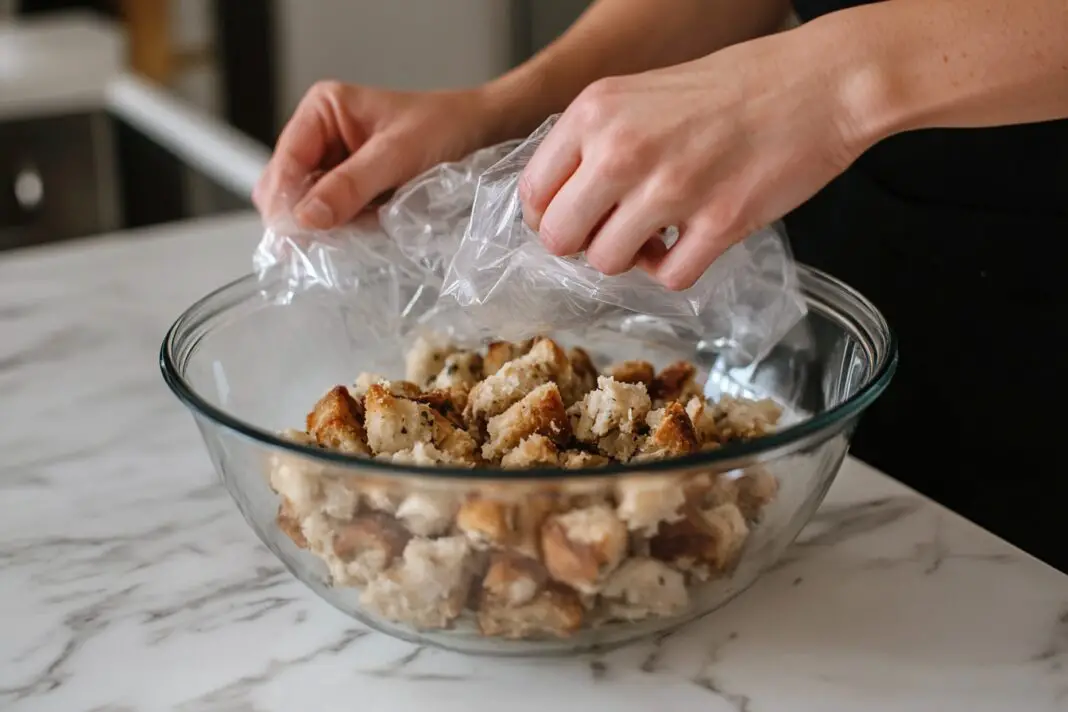
Who hasn’t wrestled with a stubborn roll of plastic wrap, only to end up with a crumpled mess stuck to itself? That familiar kitchen frustration might become a thing of the past, thanks to a brilliantly simple trick that’s been hiding in professional kitchens all along. What if I told you the solution to your plastic wrap woes was sitting right in your kitchen?
Why storing plastic wrap in the freezer makes sense

The answer to tangle-free plastic wrap might surprise you – it’s all about temperature. Storing your plastic wrap in the freezer significantly reduces its clingy nature, making it considerably easier to handle. This simple adjustment transforms the wrap’s behavior, allowing it to glide smoothly off the roll without sticking to itself or your hands.
The science behind this hack is straightforward – the cold temperature temporarily decreases the material’s natural adhesive properties. When you’re ready to use it, simply remove the box from the freezer, dispense what you need, and return it to its chilly home. The wrap will warm up quickly once it’s in contact with your container, regaining its ability to create an airtight seal.
Master the hotel wrap technique for perfect coverage
Professional kitchens use a method called the “hotel wrap” to achieve frustration-free food storage. Start by pulling out a sheet approximately twice the length of your container. Place your dish directly on the plastic, then pull the loose end tautly over the top. The key is getting the wrap to stick to itself rather than the container – this creates a more secure seal and makes the wrap easier to remove later.
For wider dishes that exceed your wrap’s width, rotate the container 90 degrees and repeat the process. This creates overlapping layers that ensure complete coverage without any gaps. When it’s time to unwrap, skip the usual tugging and pulling. Instead, use a paring knife to make a small slice in the wrap, then remove it cleanly from there.
Choose the right surface for better adhesion

Not all surfaces are created equal when it comes to plastic wrap adhesion. Glass and ceramic containers provide the best surface for plastic wrap to cling to, while metal and wood can be more challenging. For optimal results with metal containers, try creating a slight lip around the edge by wrapping the plastic underneath the rim.
A lesser-known tip involves moisture – while keeping the wrap itself dry is important, having a slightly damp rim on your container can actually improve adhesion. This works particularly well with glass bowls and ceramic dishes, creating a stronger seal that keeps food fresher for longer.
Smart tools make wrapping easier

Sometimes the solution lies in better equipment. Specialized dispensers with slide cutters can transform your wrapping experience. These tools ensure clean, straight cuts every time, eliminating the frustration of jagged edges and stuck wrap. While the box your wrap comes in has a serrated edge, using it correctly makes a significant difference – pull the wrap taut and cut at an upward angle for the cleanest results.
Meanwhile, storing your wrap in an upright position can prevent it from collapsing inside the box. Consider dedicating a specific drawer or shelf space where the roll can stand vertically, making it easier to control during dispensing.
These simple adjustments to how you store and handle plastic wrap can transform a daily kitchen frustration into a smooth operation. Whether you choose the freezer storage method, master the hotel wrap technique, or invest in better tools, you’ll find yourself spending less time fighting with plastic wrap and more time enjoying your kitchen adventures. Remember, sometimes the most effective solutions are the simplest ones – they just need to be discovered.

