Ever wondered why your homemade salads never quite match up to those perfectly crisp restaurant versions? The answer might surprise you – it’s not about fancy ingredients or secret dressings. The most common mistake ruining your salads is something seemingly simple yet absolutely crucial: not drying your greens properly. This oversight can turn what should be a fresh, crisp creation into a watery disappointment.
Why wet greens spell disaster for your salad

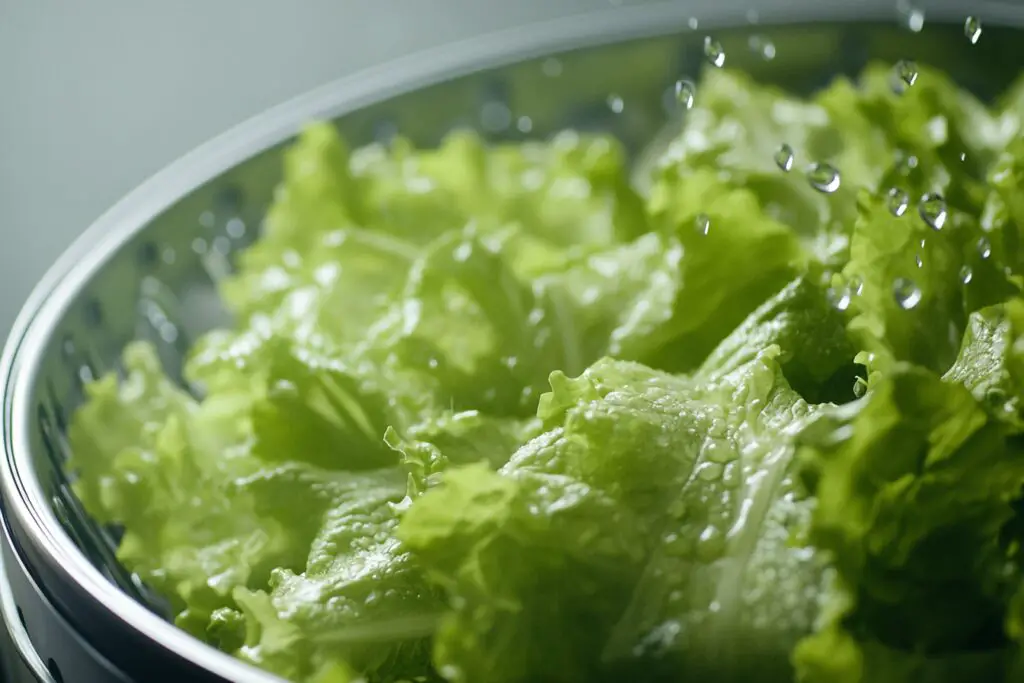
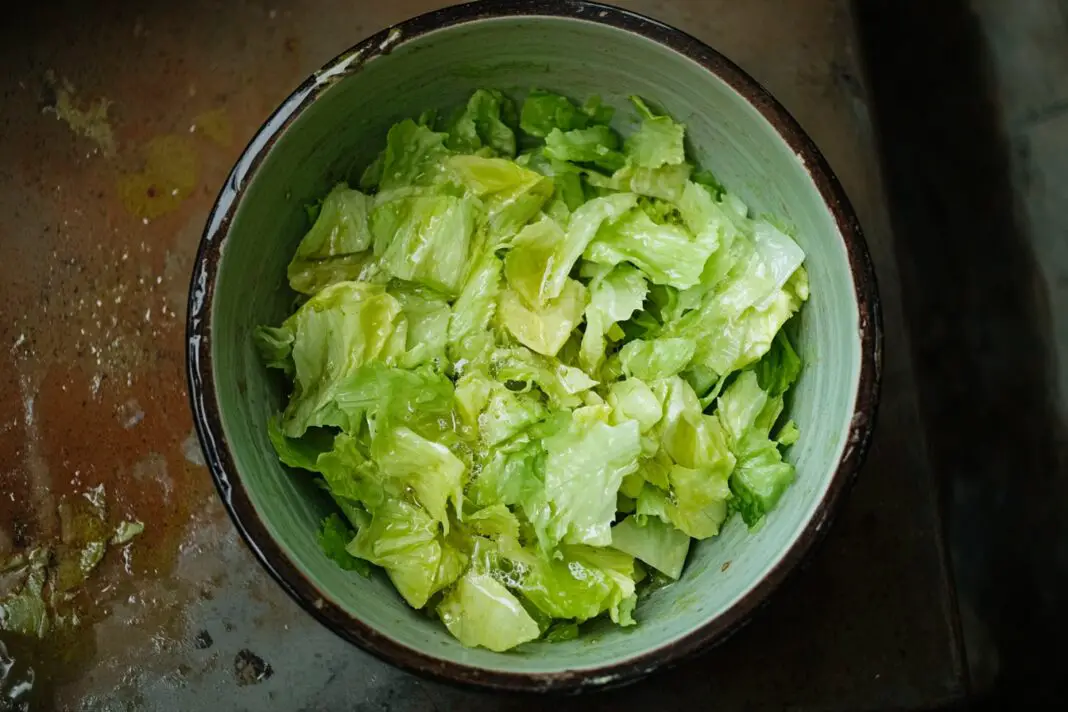
Water is the enemy of a good salad. When your greens aren’t properly dried, the excess moisture dilutes your dressing and prevents it from properly coating the leaves. The result? A pool of watered-down dressing at the bottom of your bowl and bland, slippery greens that simply don’t deliver the satisfaction you’re looking for.
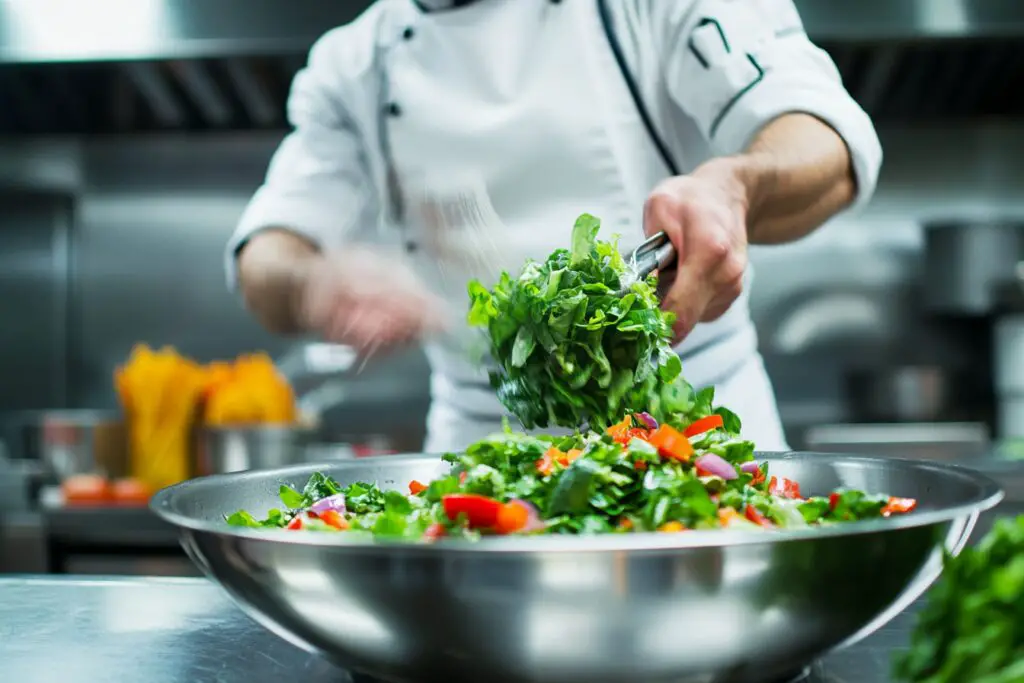
Professional chefs know that thoroughly dried greens are the foundation of an exceptional salad. Think about it – would you try to dress a wet t-shirt? The same principle applies here. Moisture creates a barrier between your greens and dressing, preventing that perfect harmony of flavors you’re aiming for.
Essential tools for perfectly dried greens
The salad spinner isn’t just another kitchen gadget – it’s your secret weapon for restaurant-quality salads. Restaurant kitchens rely on these simple yet effective tools to ensure their greens are impeccably dried before service.
No spinner? No problem. While not ideal, you can use paper towels and a clean kitchen towel. Lay your washed greens on paper towels, roll them up gently, and give them a few good shakes outside or over your sink. Transfer to a clean kitchen towel and repeat if needed.
The proper drying technique makes all the difference

Timing is everything when it comes to drying your greens. Expert chefs recommend washing and drying your greens immediately after bringing them home. This not only ensures they’re ready to use but also helps them stay fresh longer in storage.
When using a salad spinner, don’t overload it. Work in batches if necessary, giving each handful of greens enough space to move freely. A few short spins are more effective than one long one – this prevents bruising while ensuring maximum water removal.
Storage solutions for dried greens
Once your greens are properly dried, proper storage becomes crucial. Line a container with paper towels, add your dried greens, and top with another paper towel before sealing. This setup maintains the perfect moisture balance, keeping your greens crisp without letting them get soggy.
What if you’re meal prepping multiple salads? Store components separately, with greens in one container and wet ingredients (like tomatoes or cucumbers) in another. This prevents moisture migration and keeps everything fresh until you’re ready to combine them.
When to skip the washing and drying step

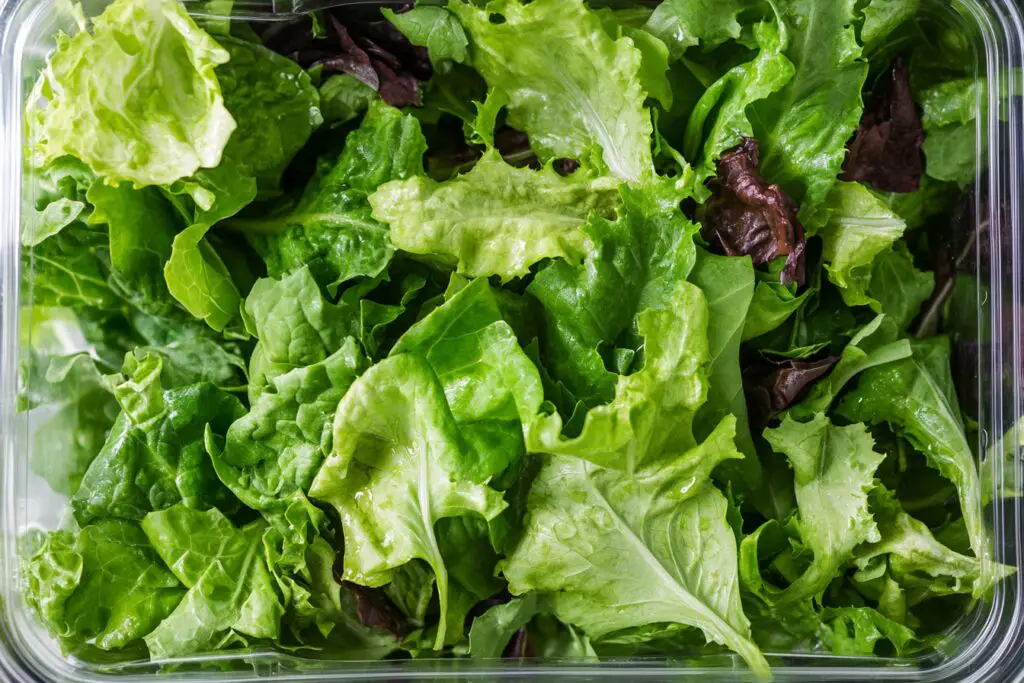
Pre-washed greens can be a time-saver, but they’re not completely off the hook. While you can skip the washing step, giving them a quick spin in your salad spinner can remove any condensation that’s accumulated in the package. This extra minute of effort can significantly improve your final result.
If you’re using microgreens or delicate herbs, skip the spinner altogether. These tender greens require a gentler touch – simply lay them on paper towels and pat dry carefully to prevent damage.
Remember, the path to a perfect salad starts long before you add the dressing or toppings. By mastering this fundamental step of properly drying your greens, you’ll elevate your homemade salads from mediocre to memorable. Next time you’re preparing a salad, take those extra few minutes to ensure your greens are thoroughly dried – your taste buds will thank you.

